PizzaGPT
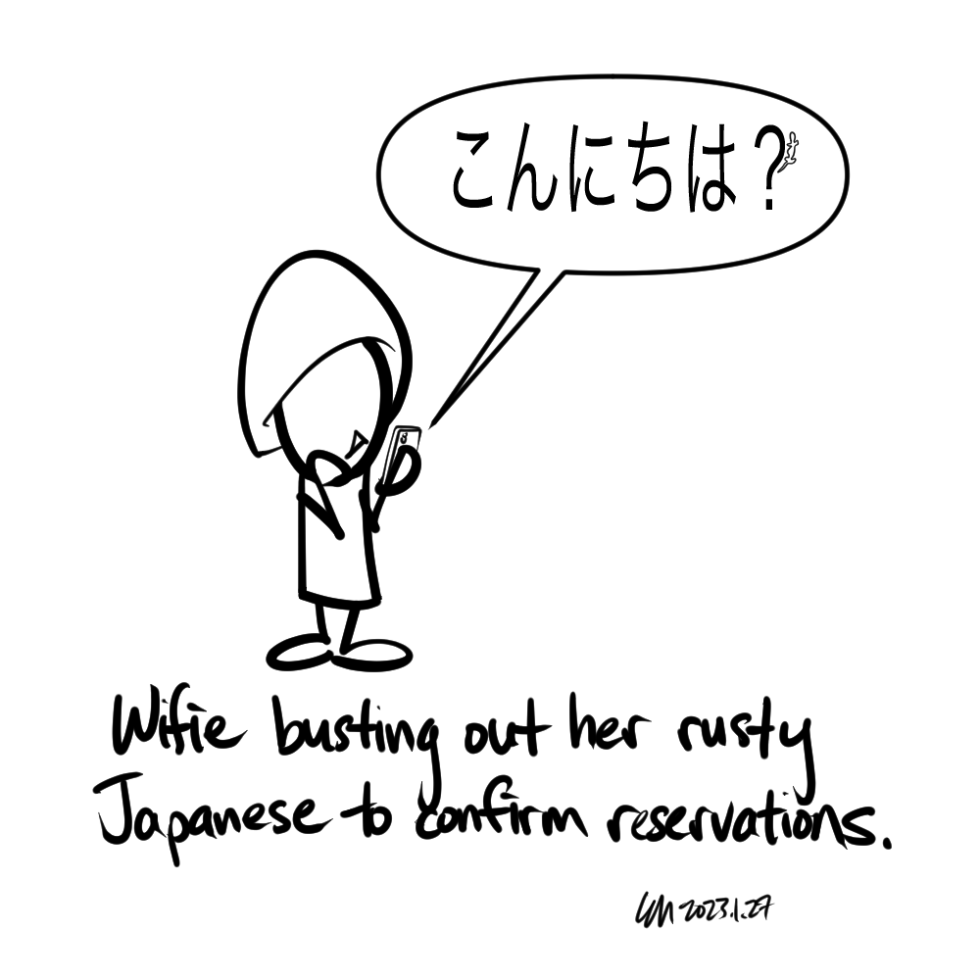
Rusty Japanese
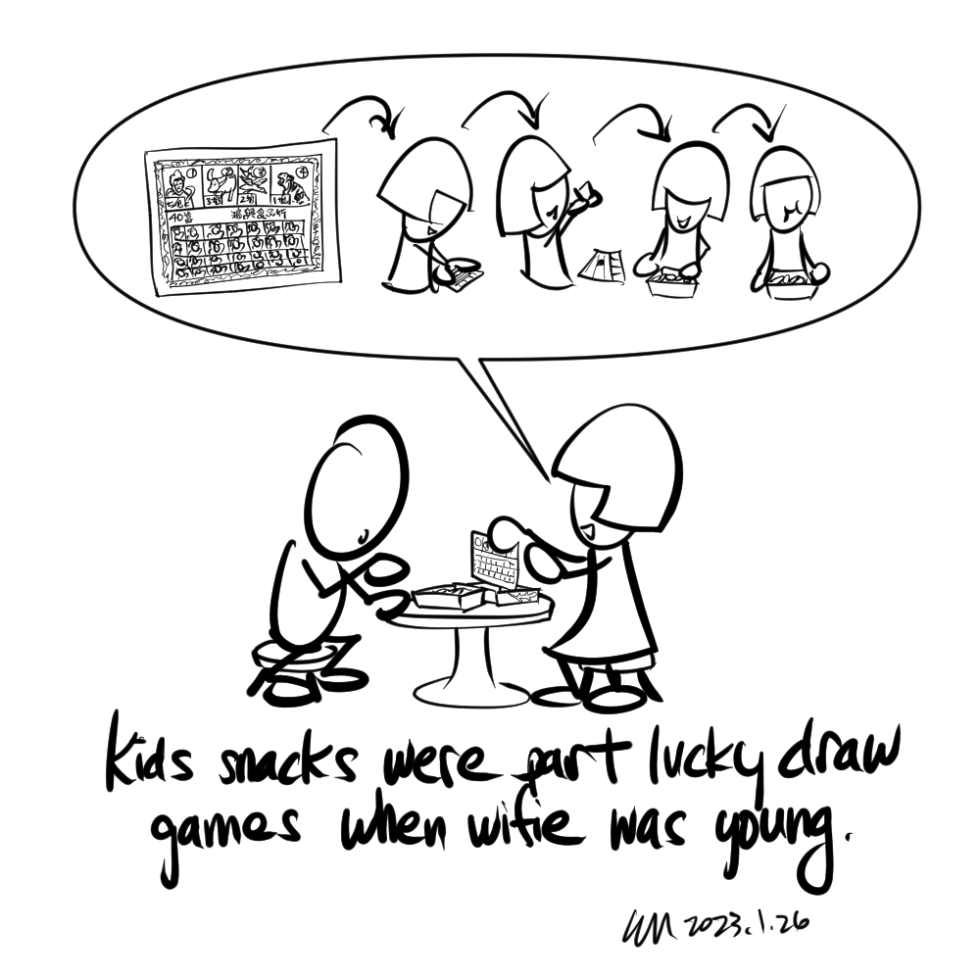
Kiddie Games
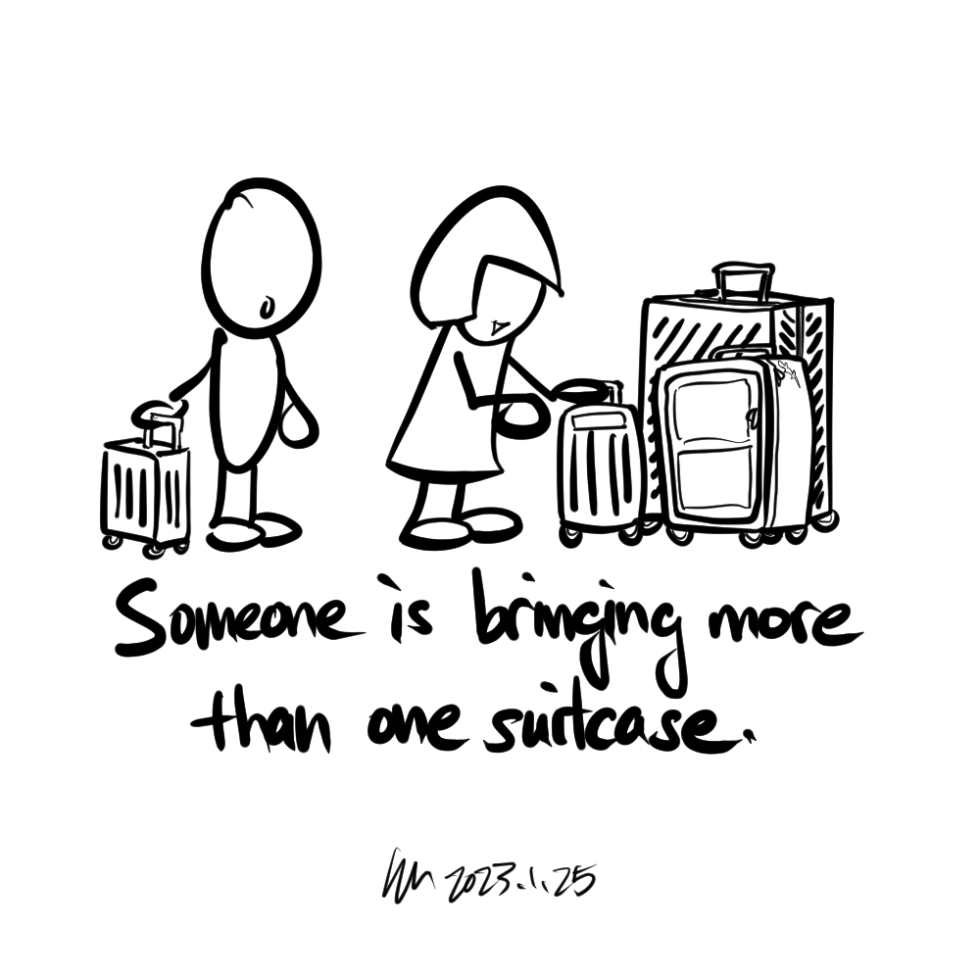
Luggage
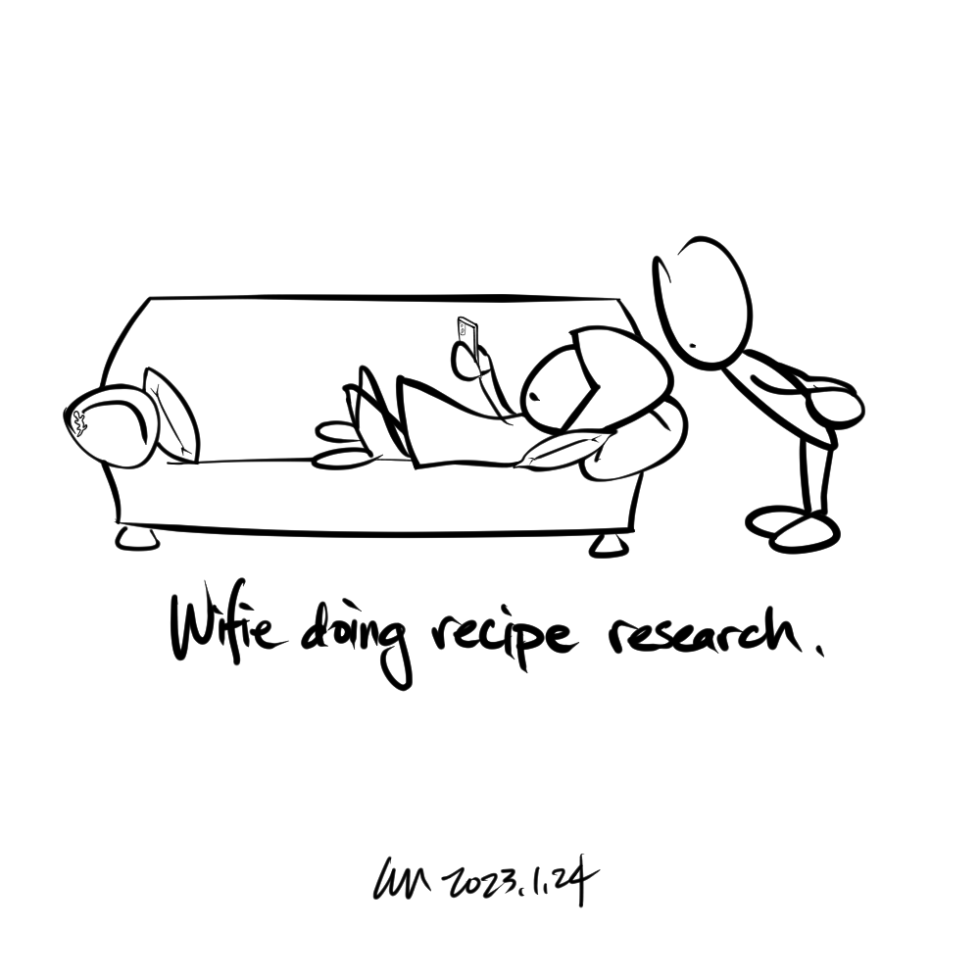
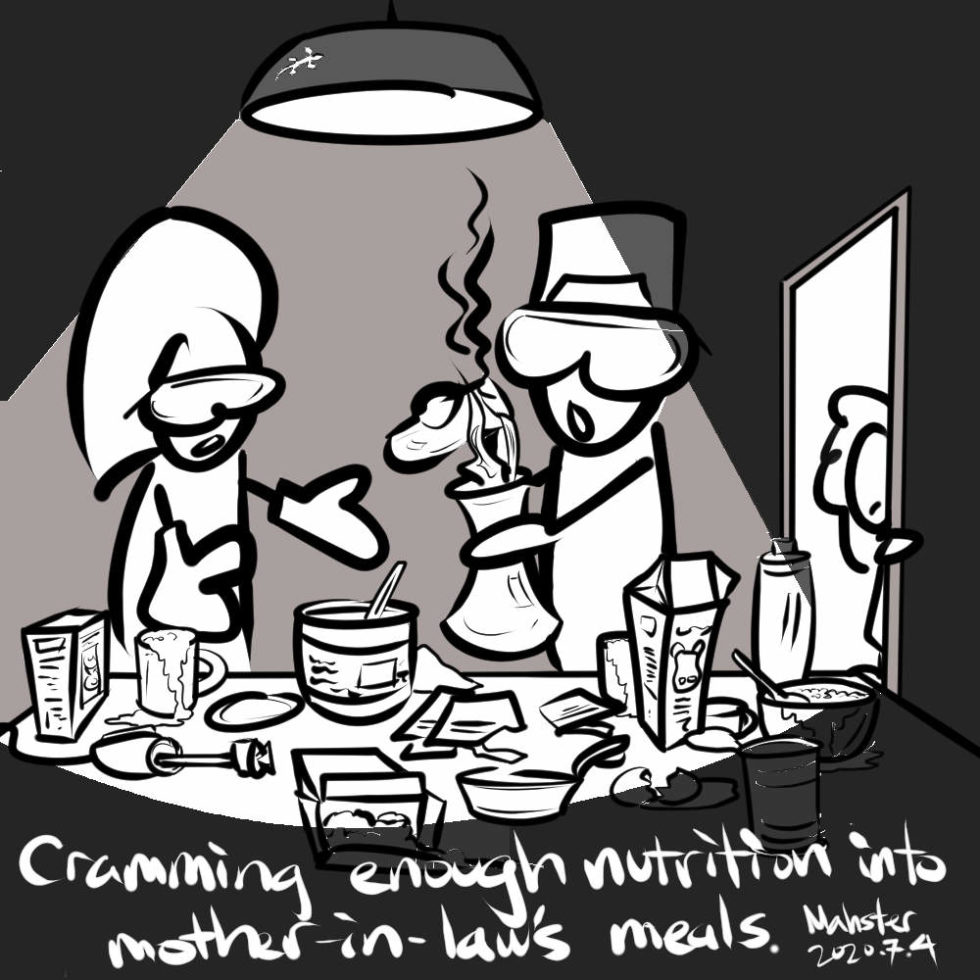
Recipe Research
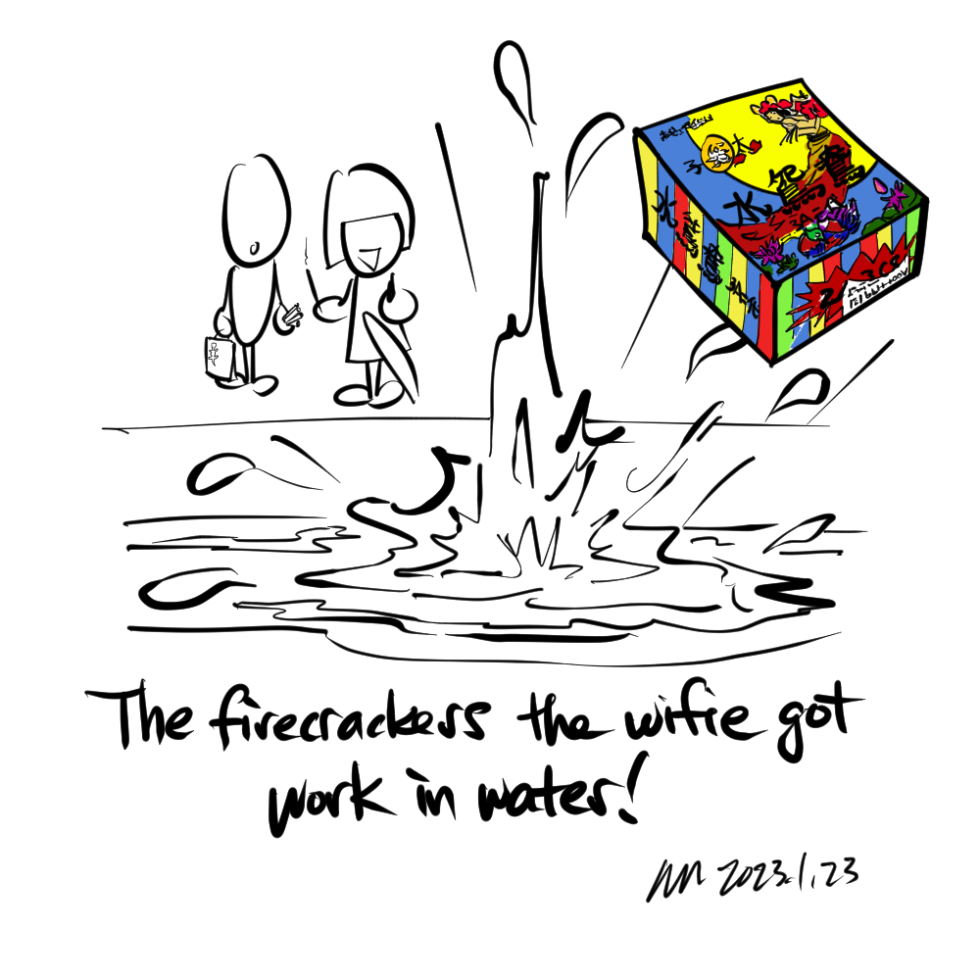
Firecracker 2

Firecracker

Year of the Rabbit
Done Cleaning
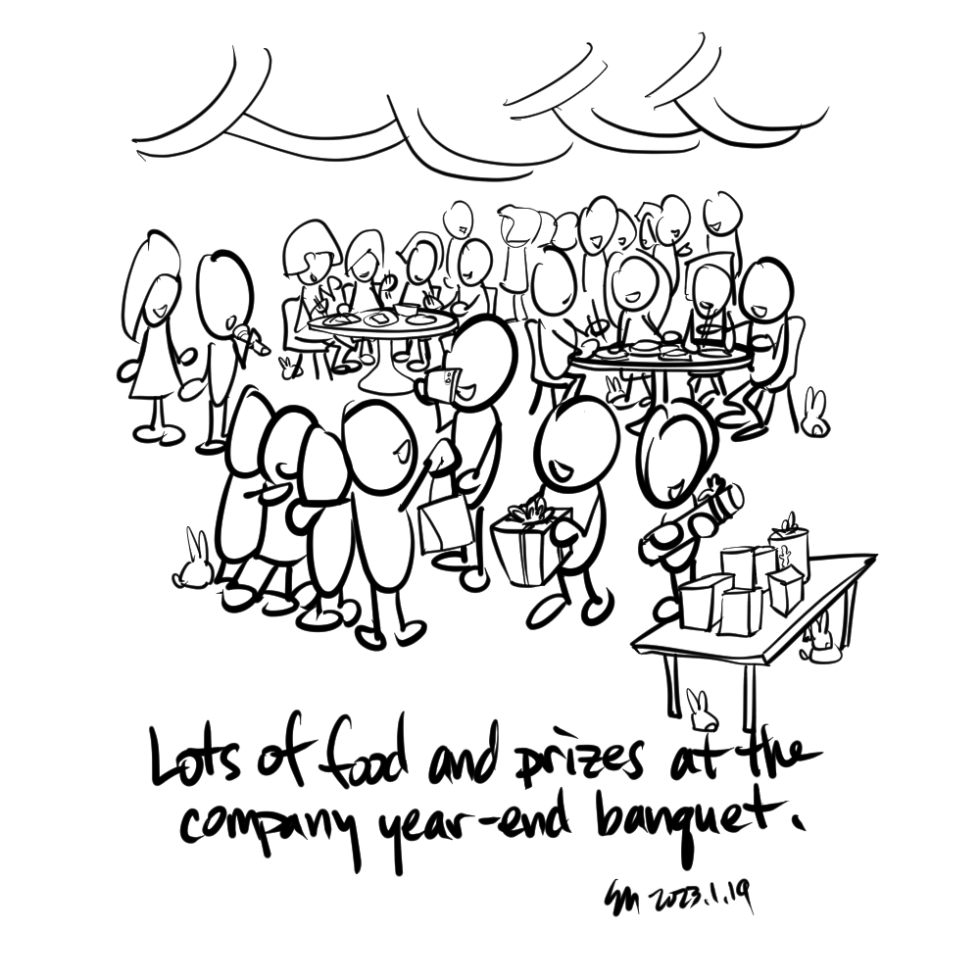
Year-End Banquet
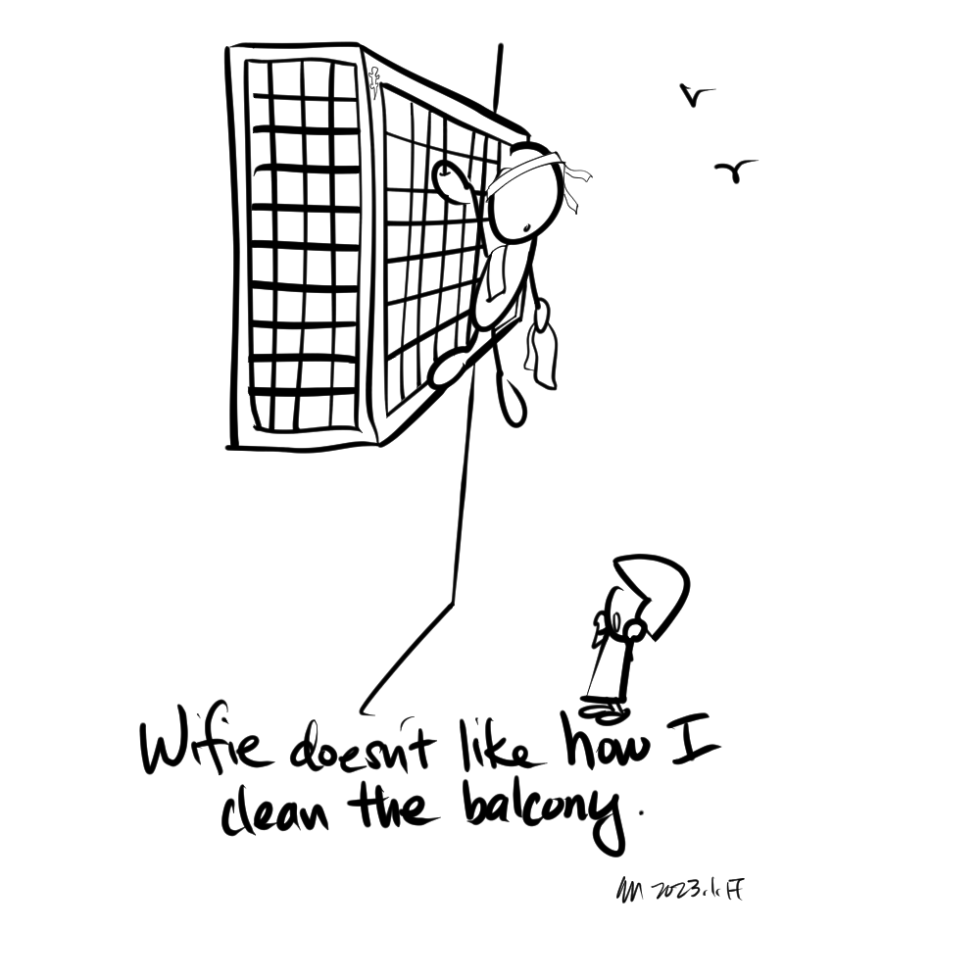
Balcony Cleaning
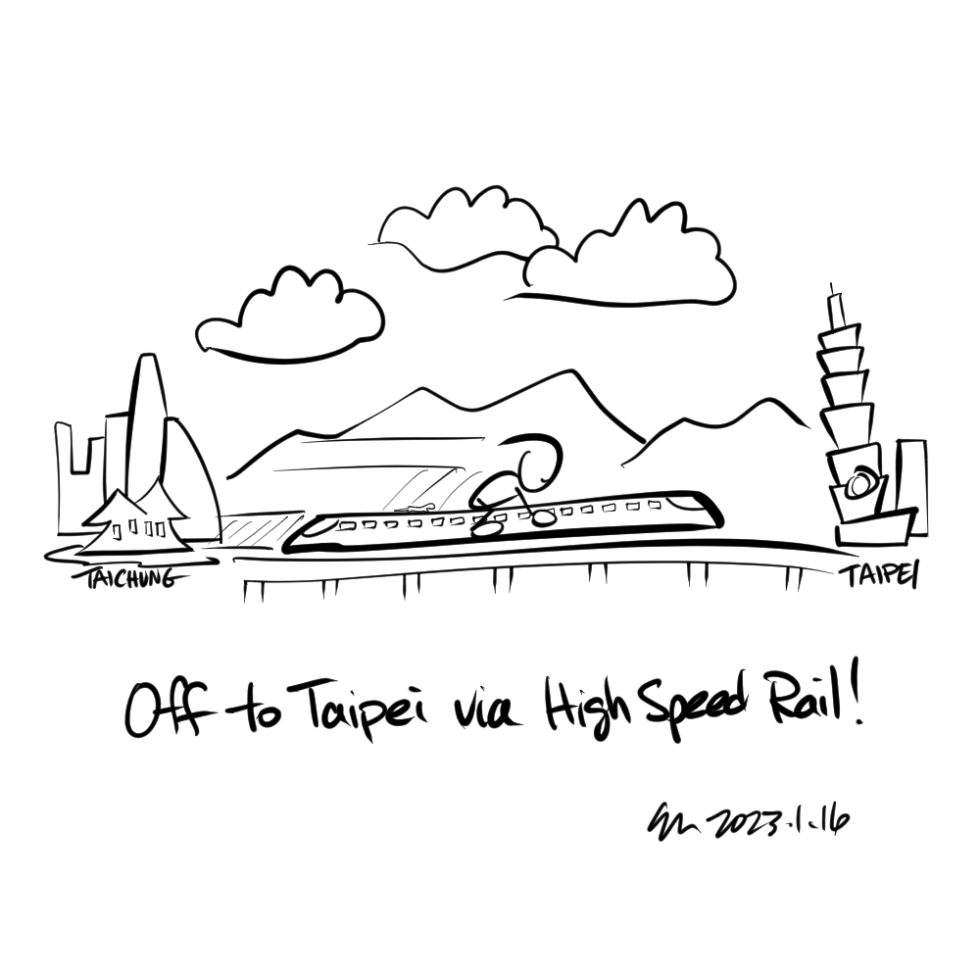
High Speed Rail
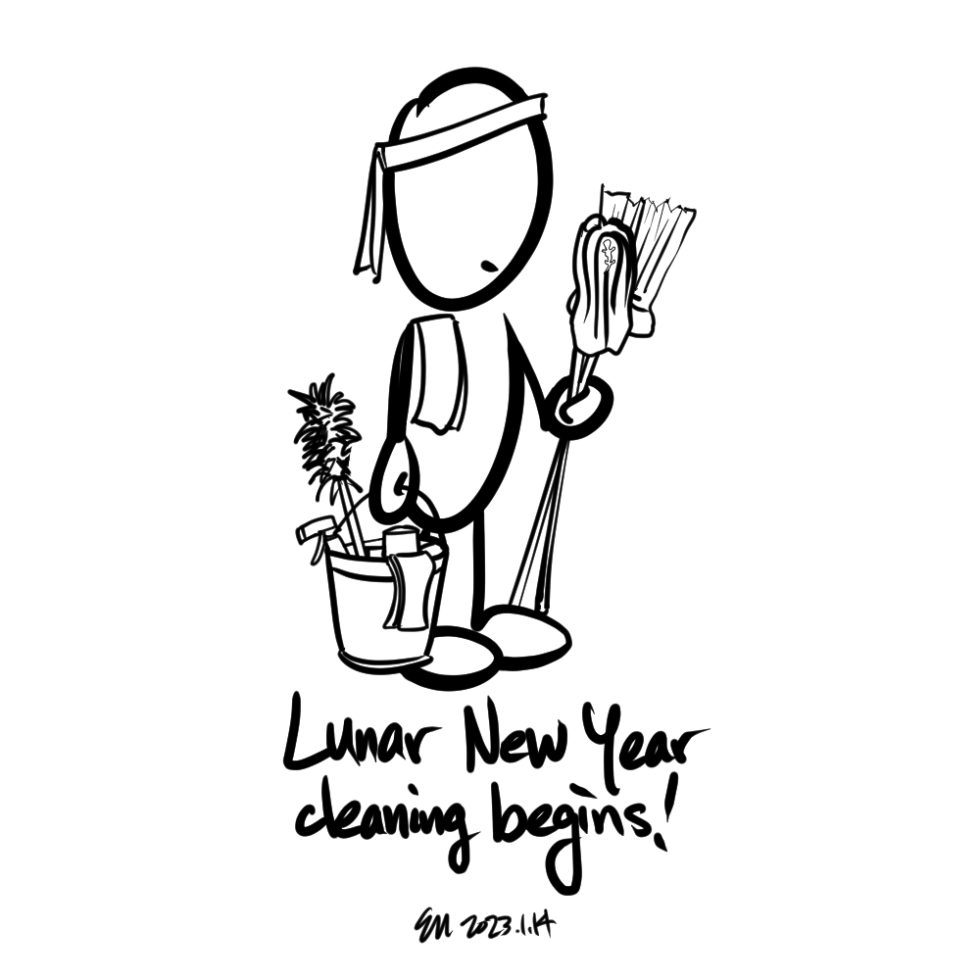
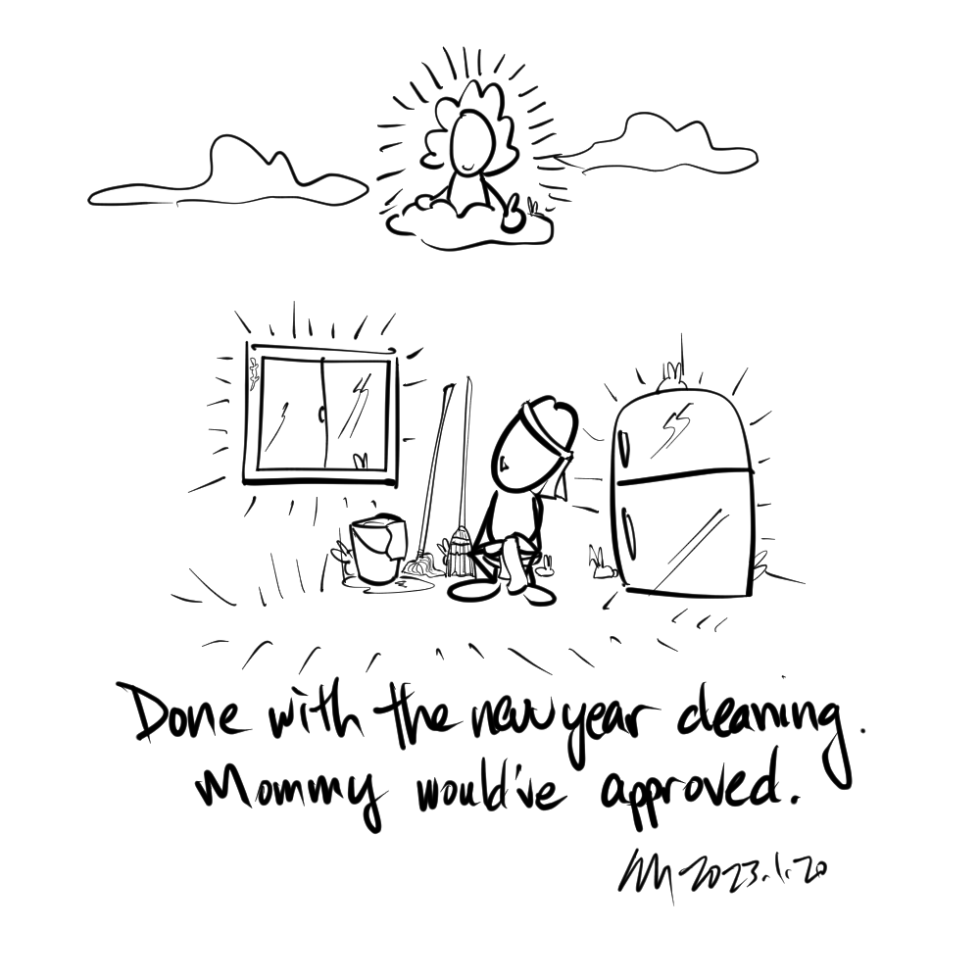
New Year Cleaning

Washing Machine
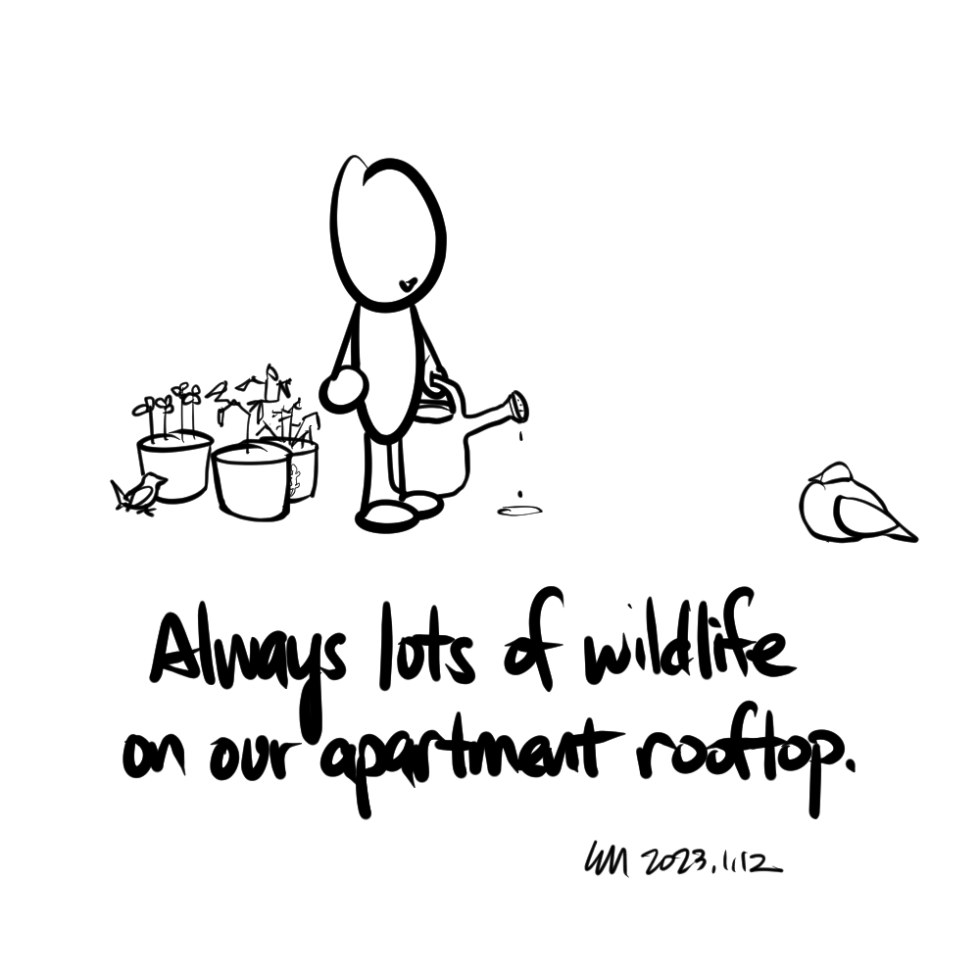
Pidgeon
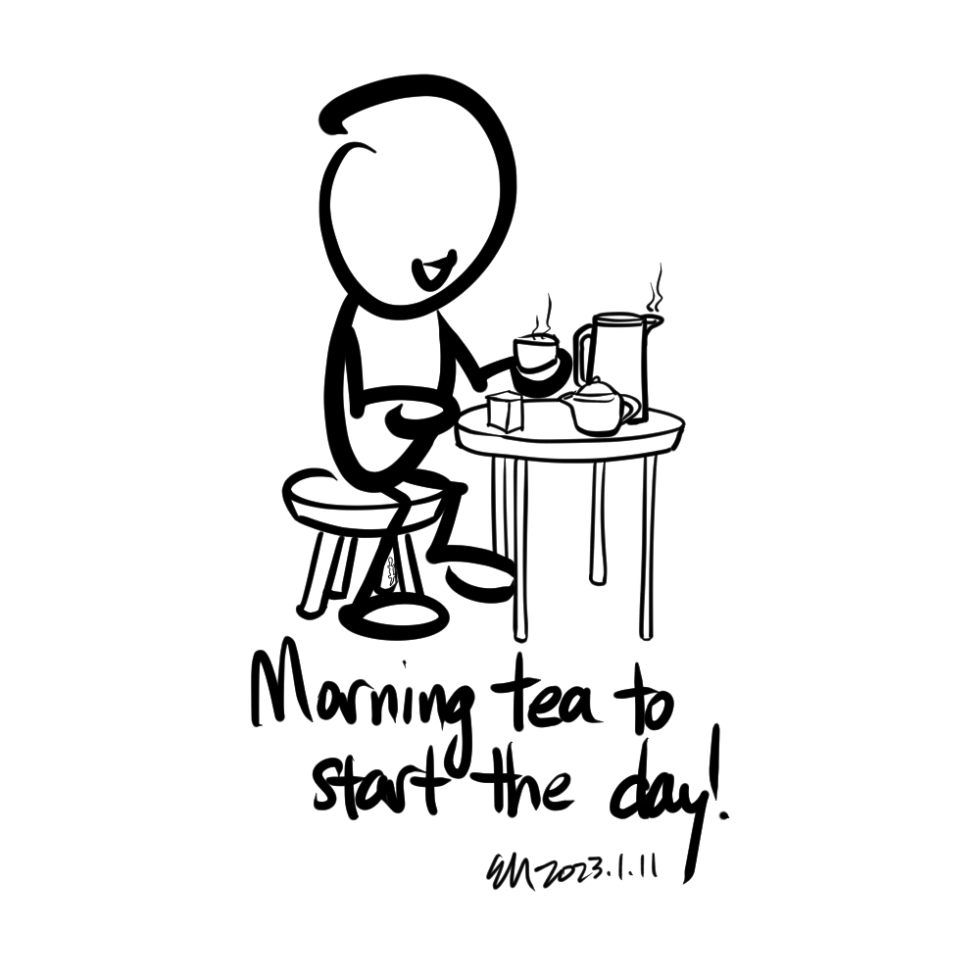
Tea Time
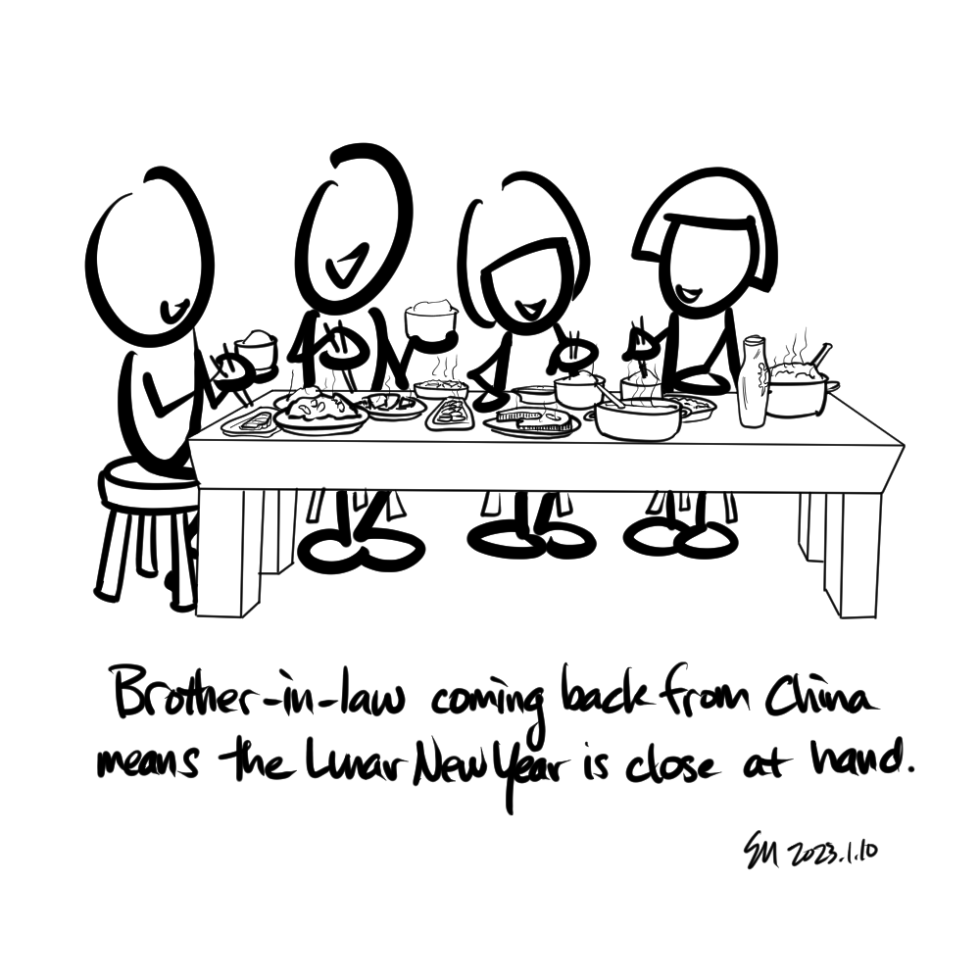
Lunar New Year Almost Here
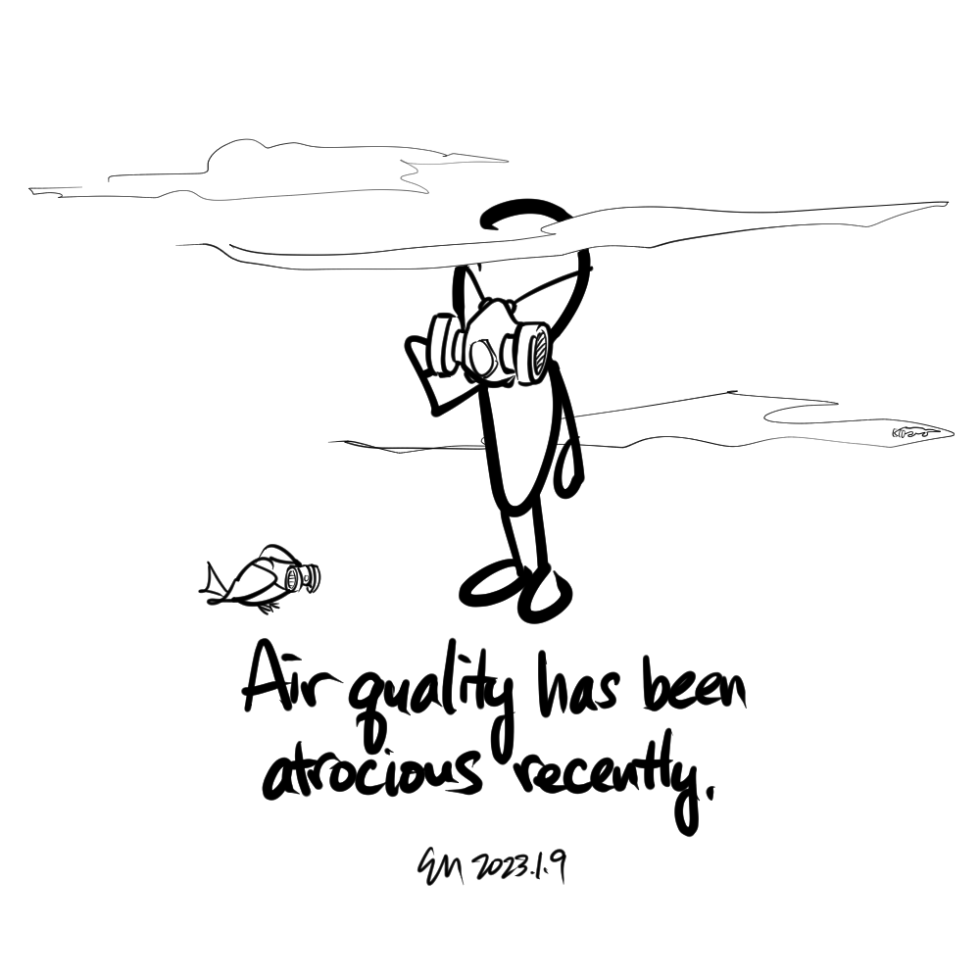
Bad Air
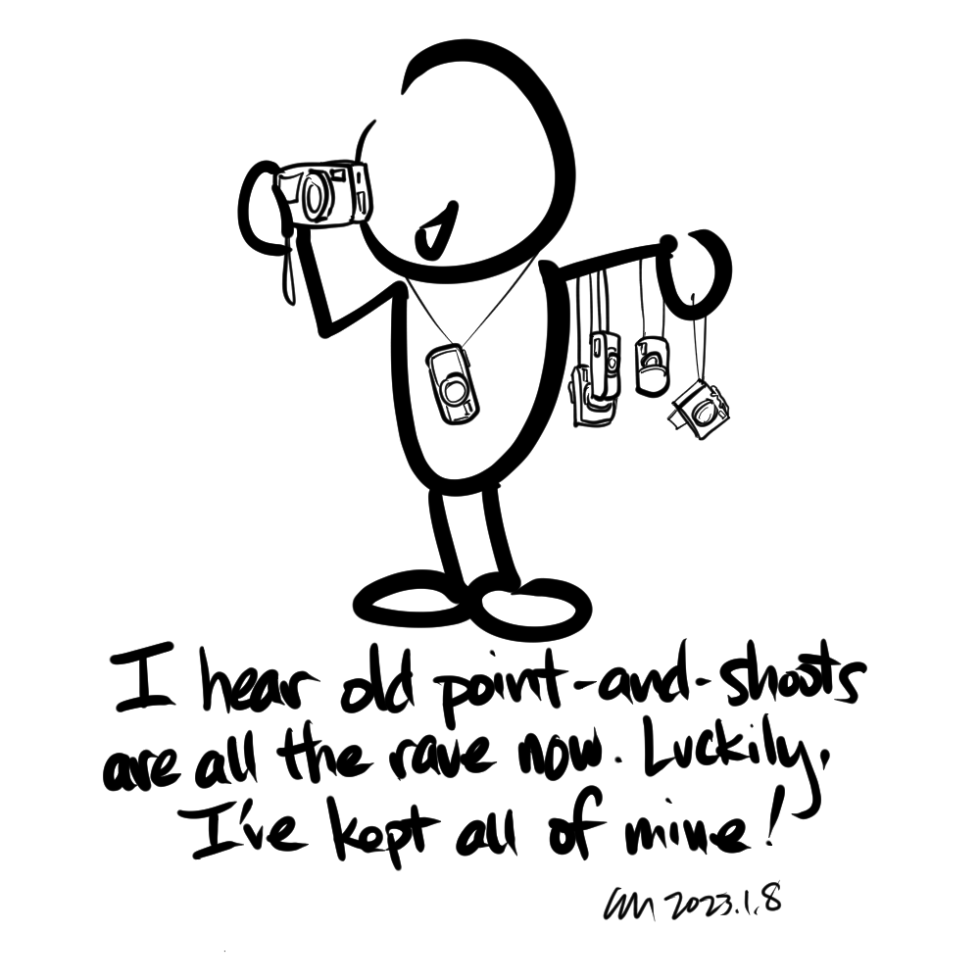
Point-and-shoots

Spectators
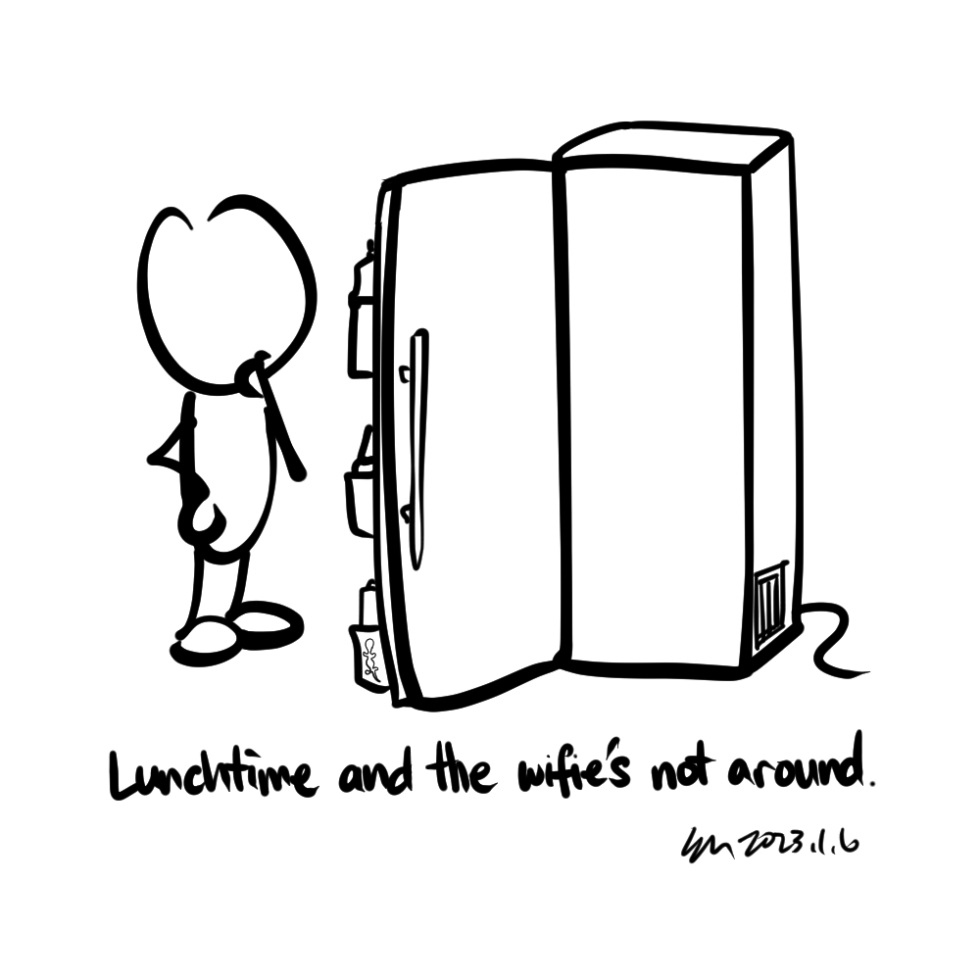
Lunchtime

Cooking Rice
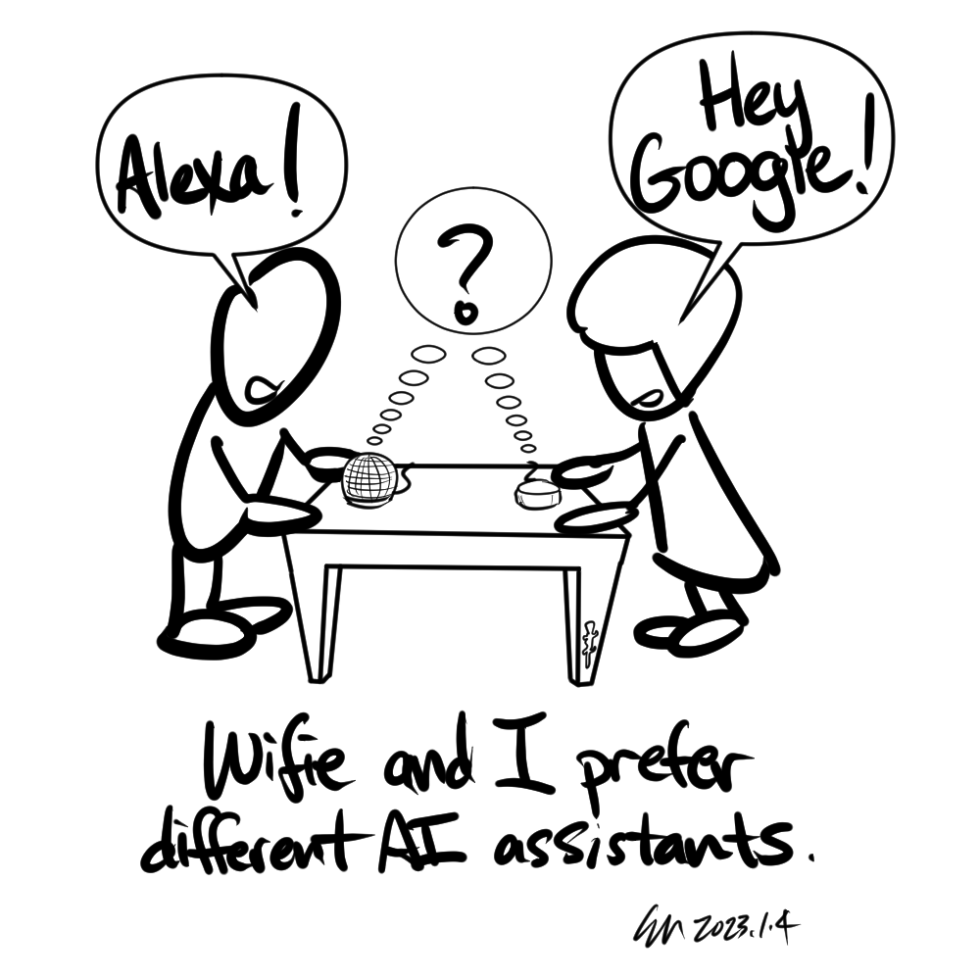
Hey Google!
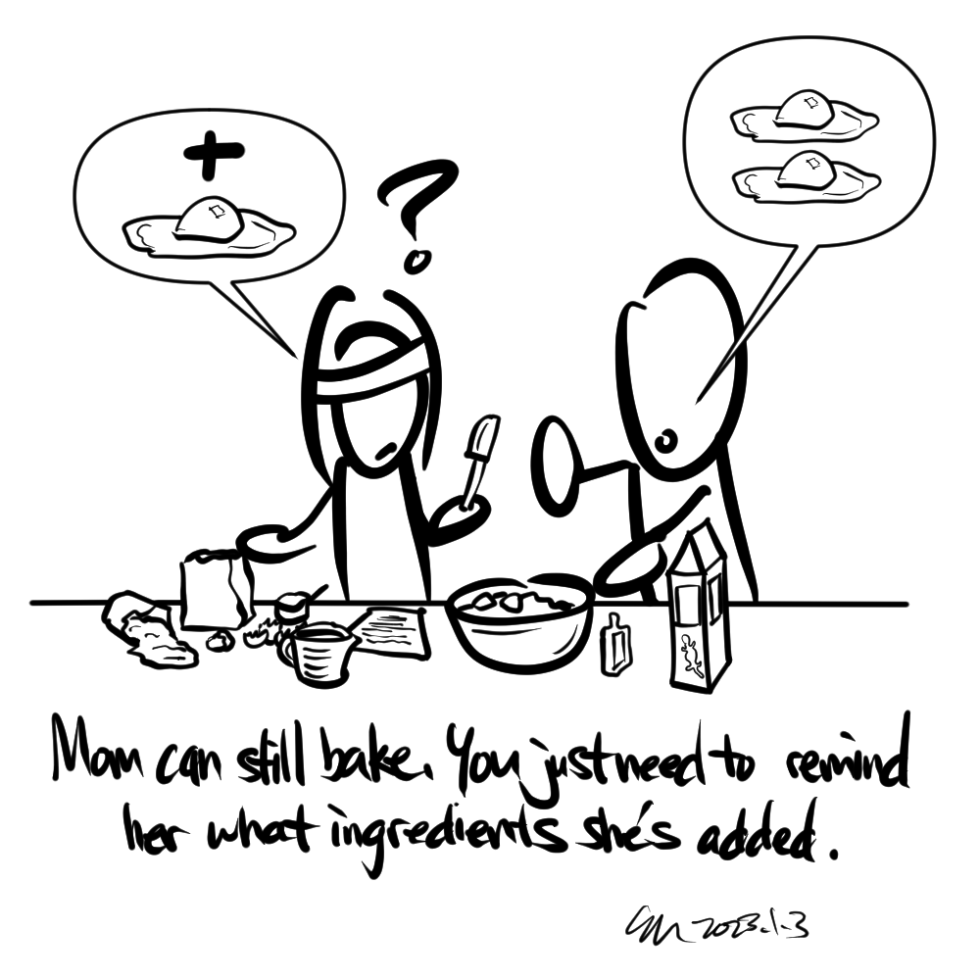
Baking Cookies
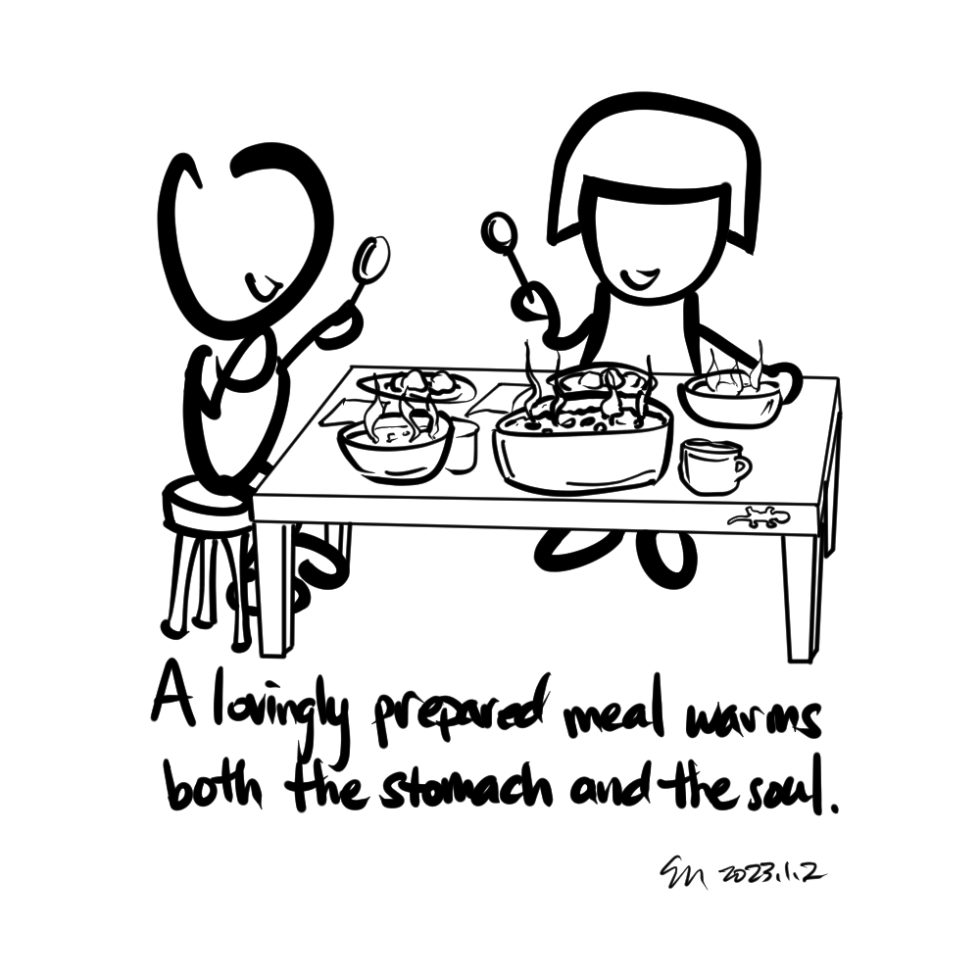
Lunch!
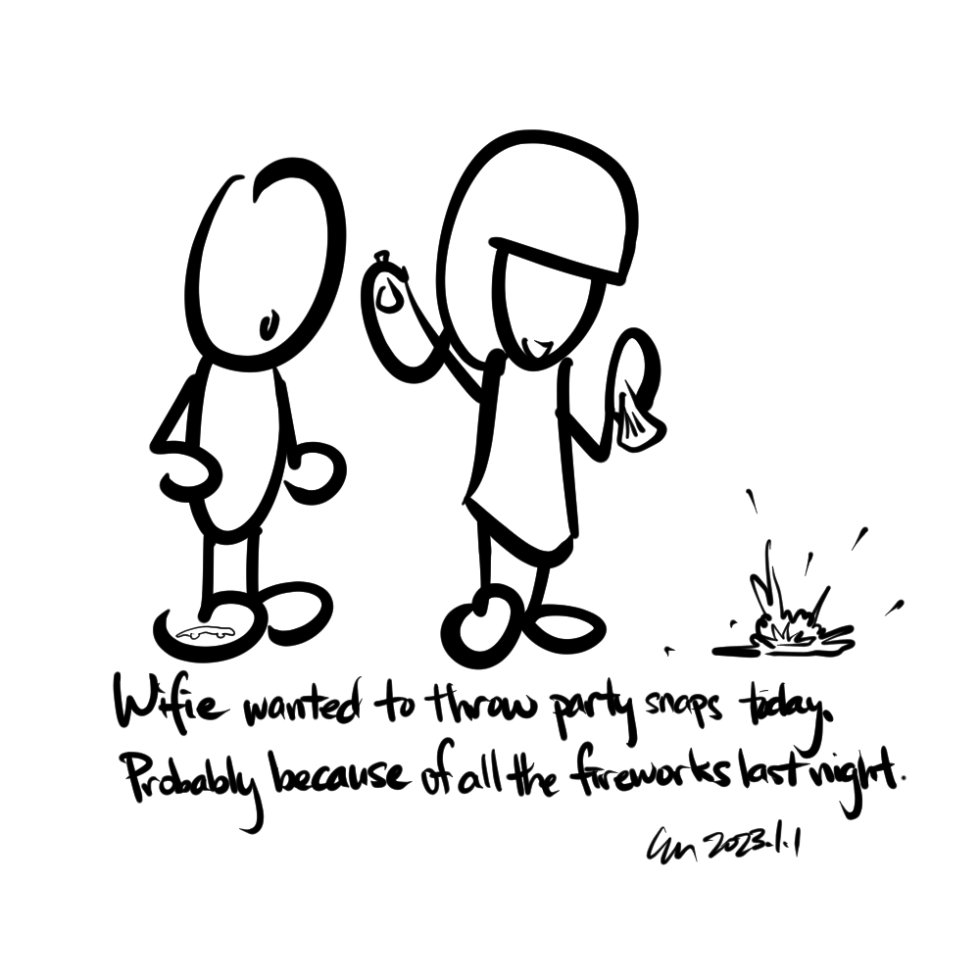
Party Snaps
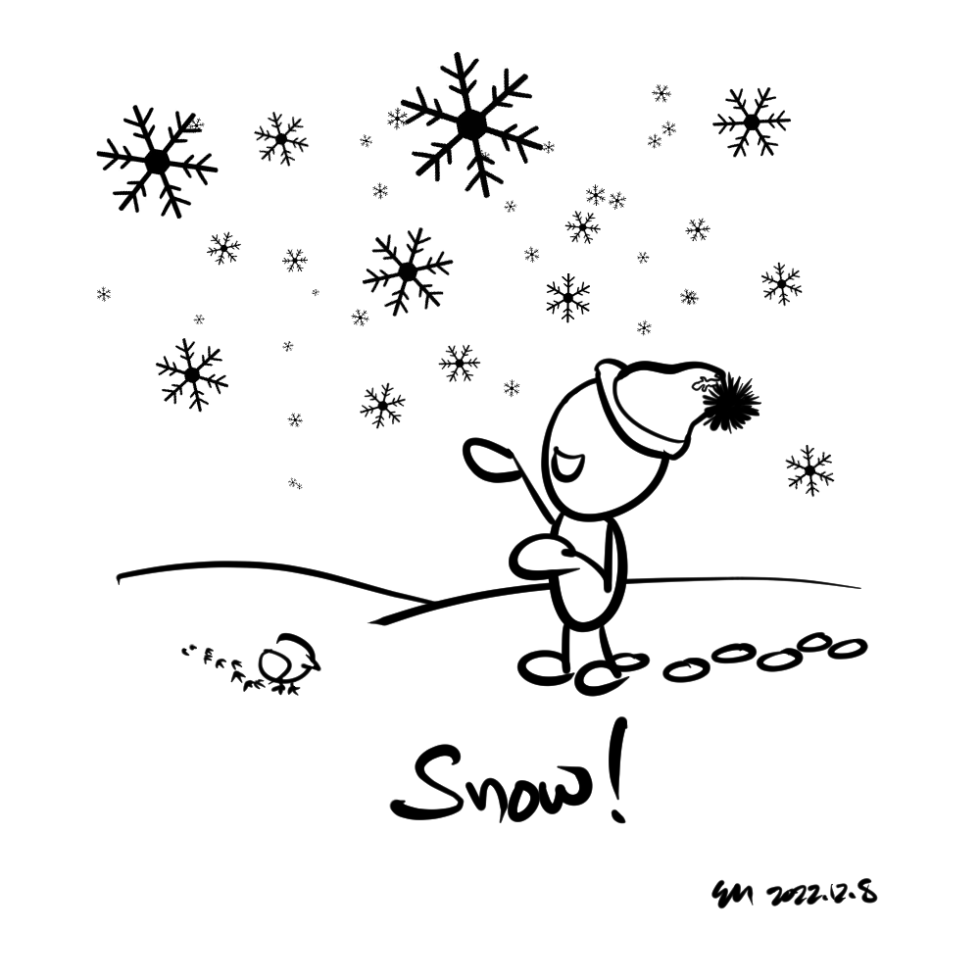
Snow!

Three pounds over
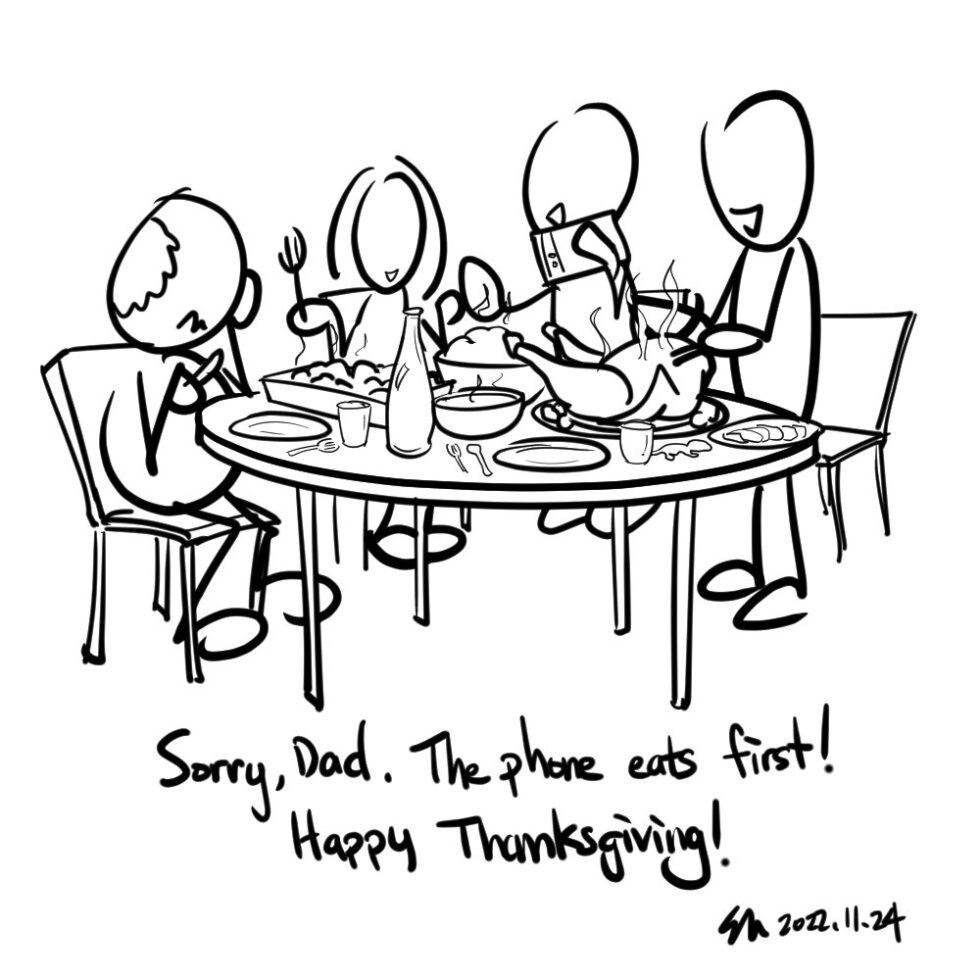
Happy Thanksgiving!
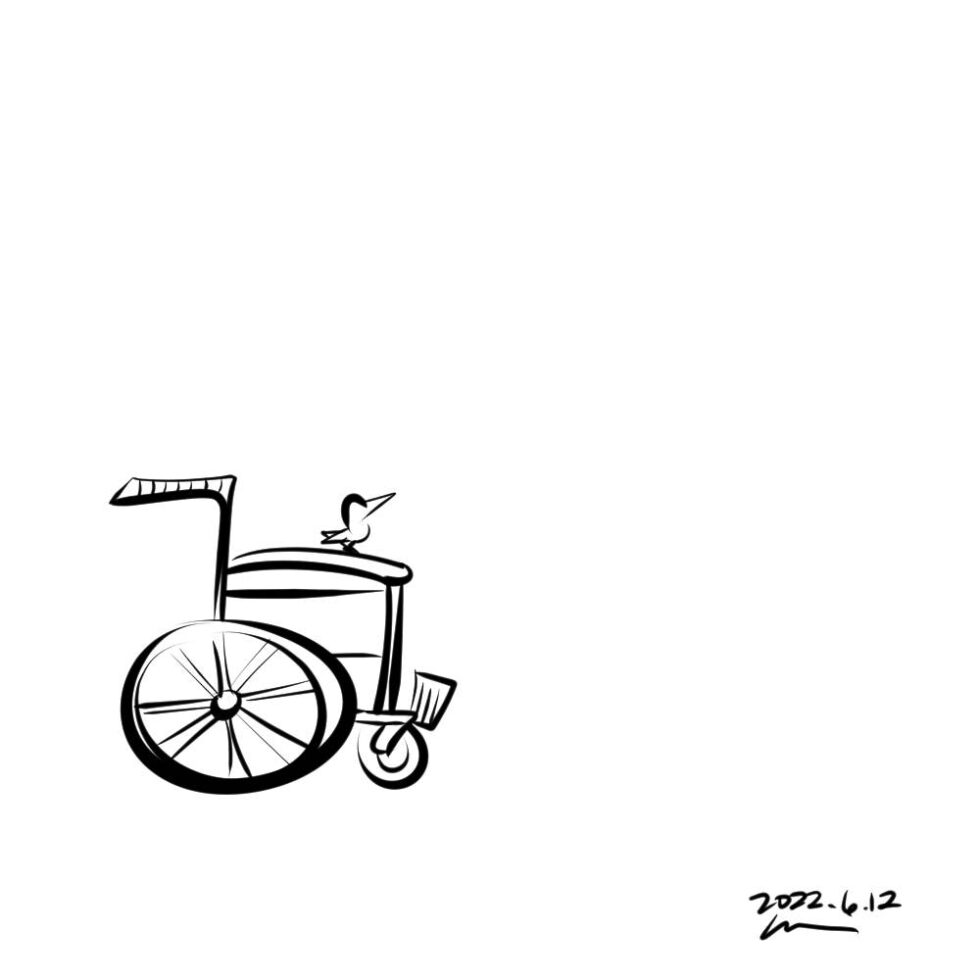
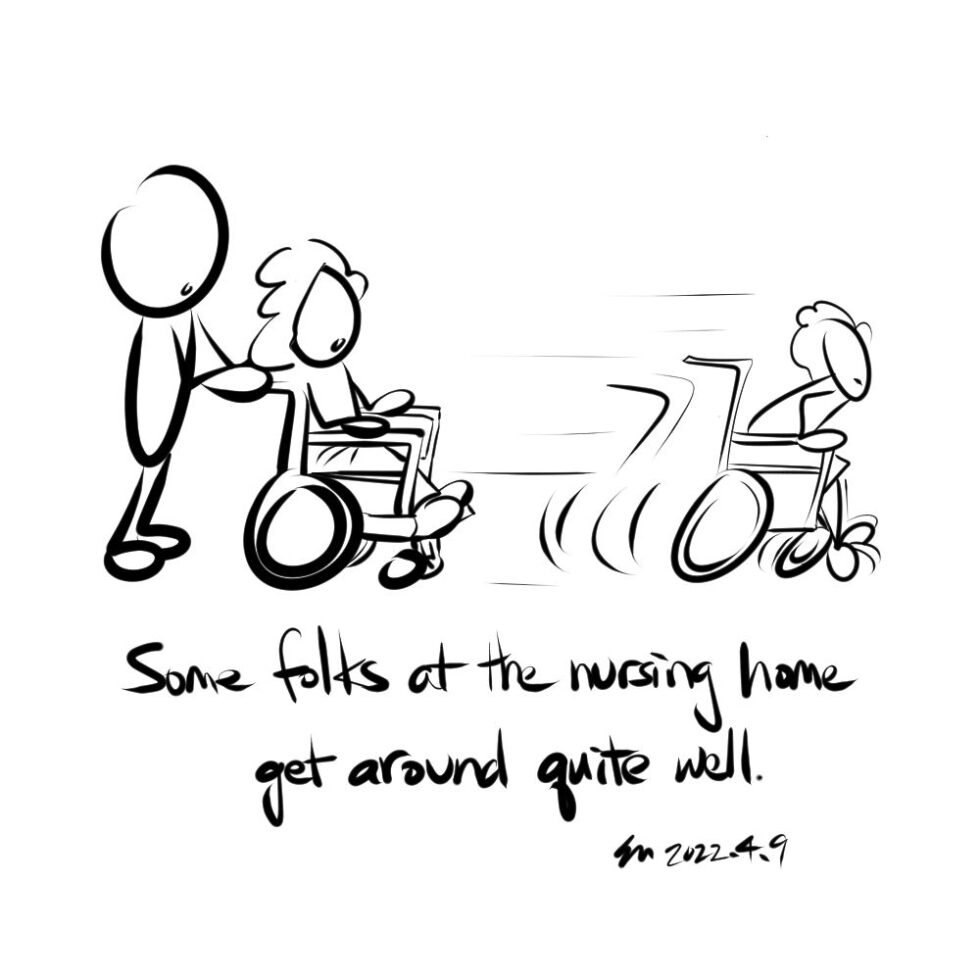
Rest
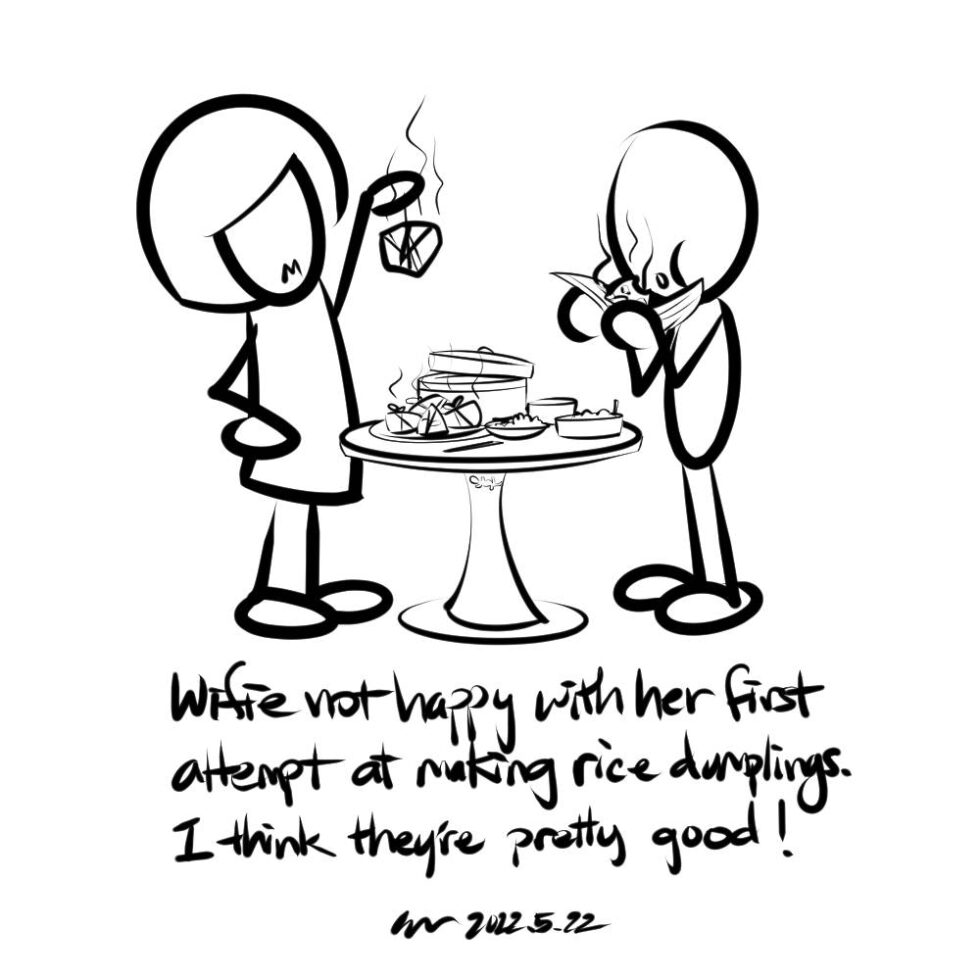
Rice Dumplings
F1 Racer
Monster Mash
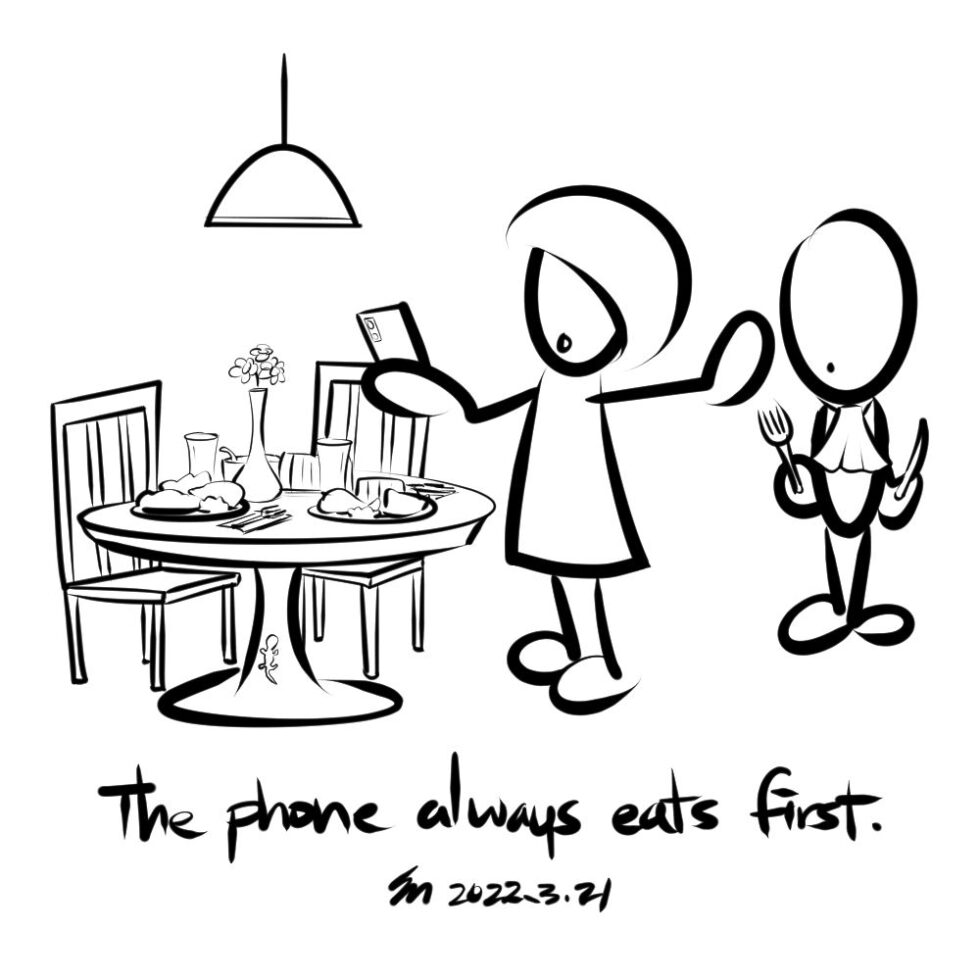
The phone eats first

Valentine / Lantern Festival Present
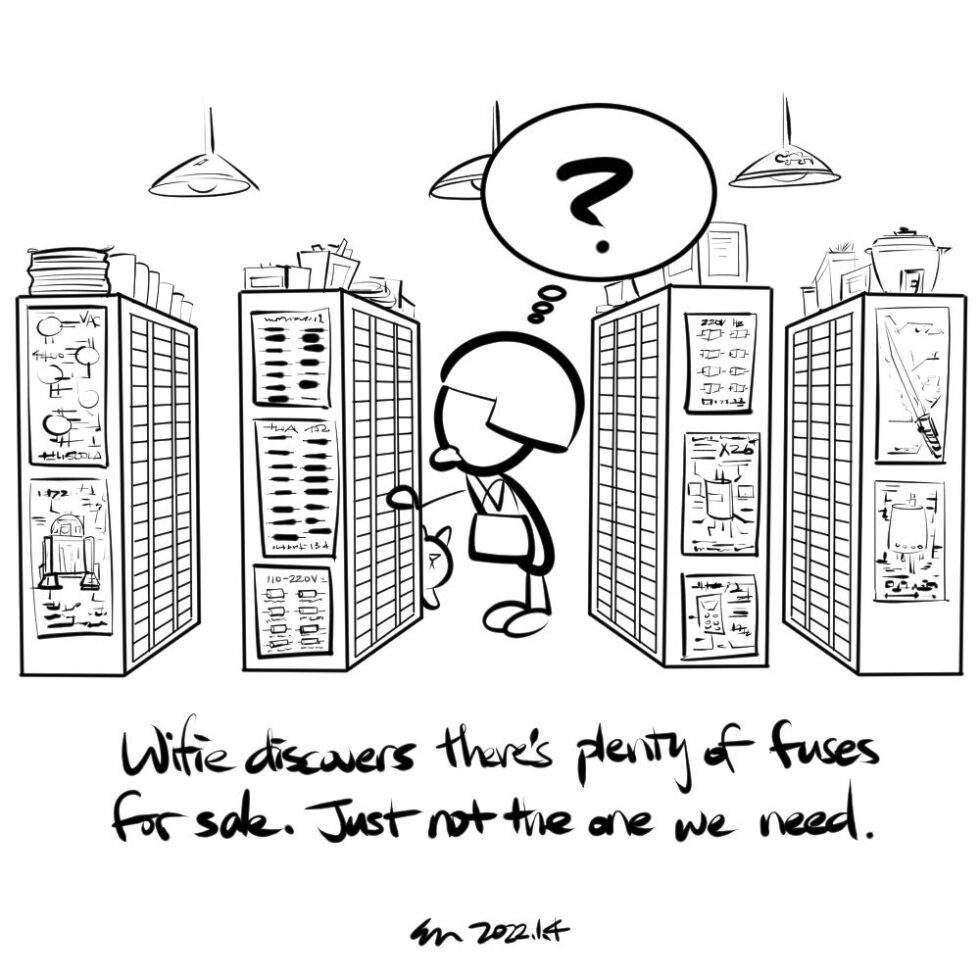
Which One?
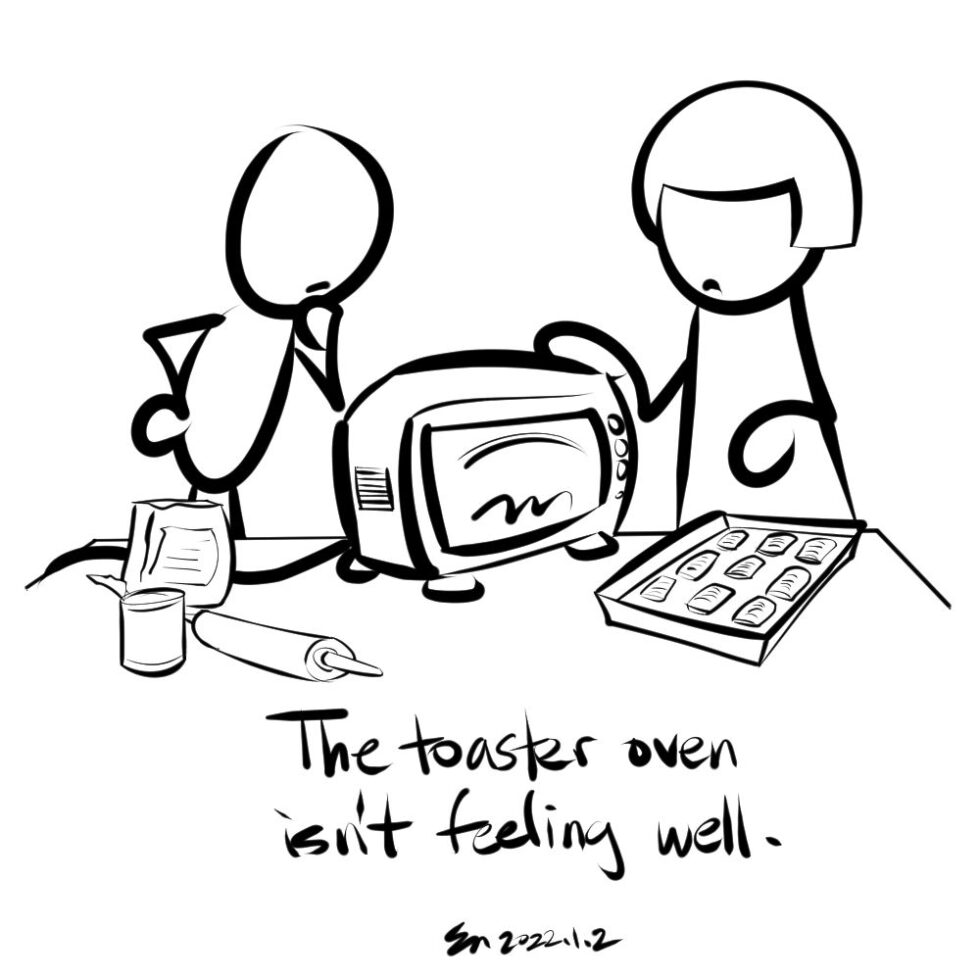
Toaster Oven

Happy 虎 (Hu) Year!
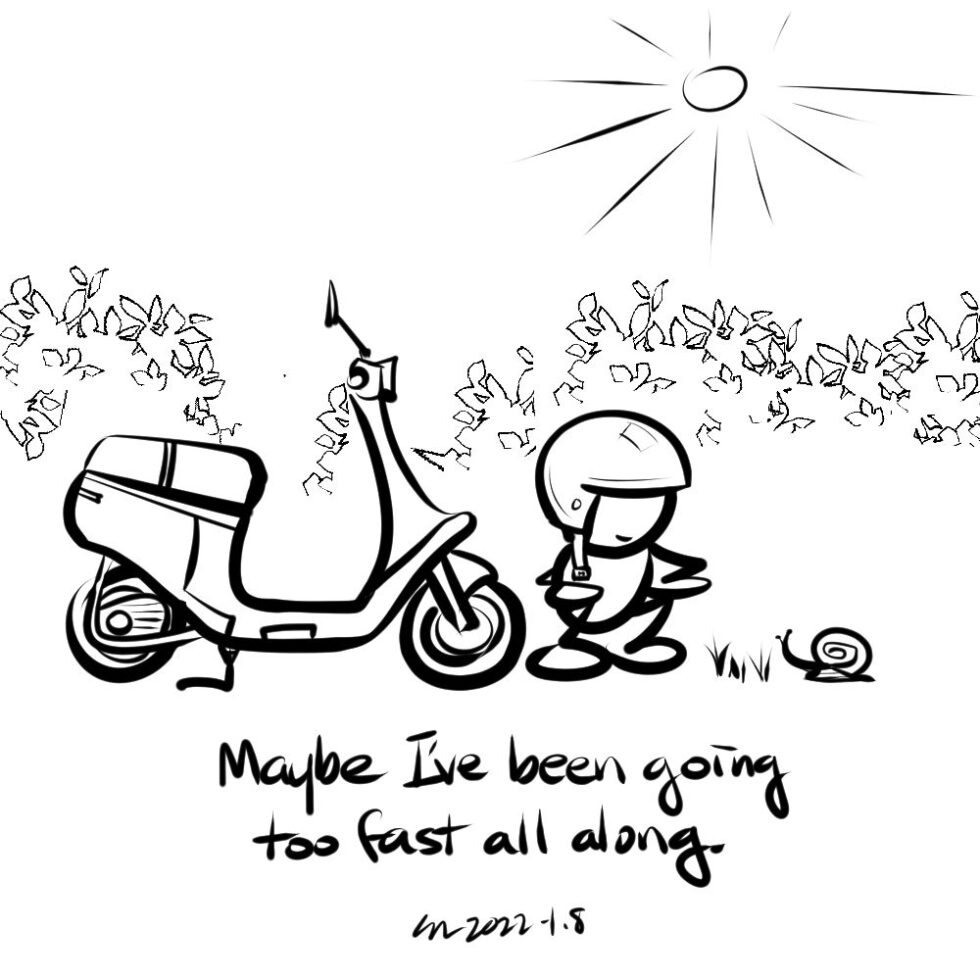
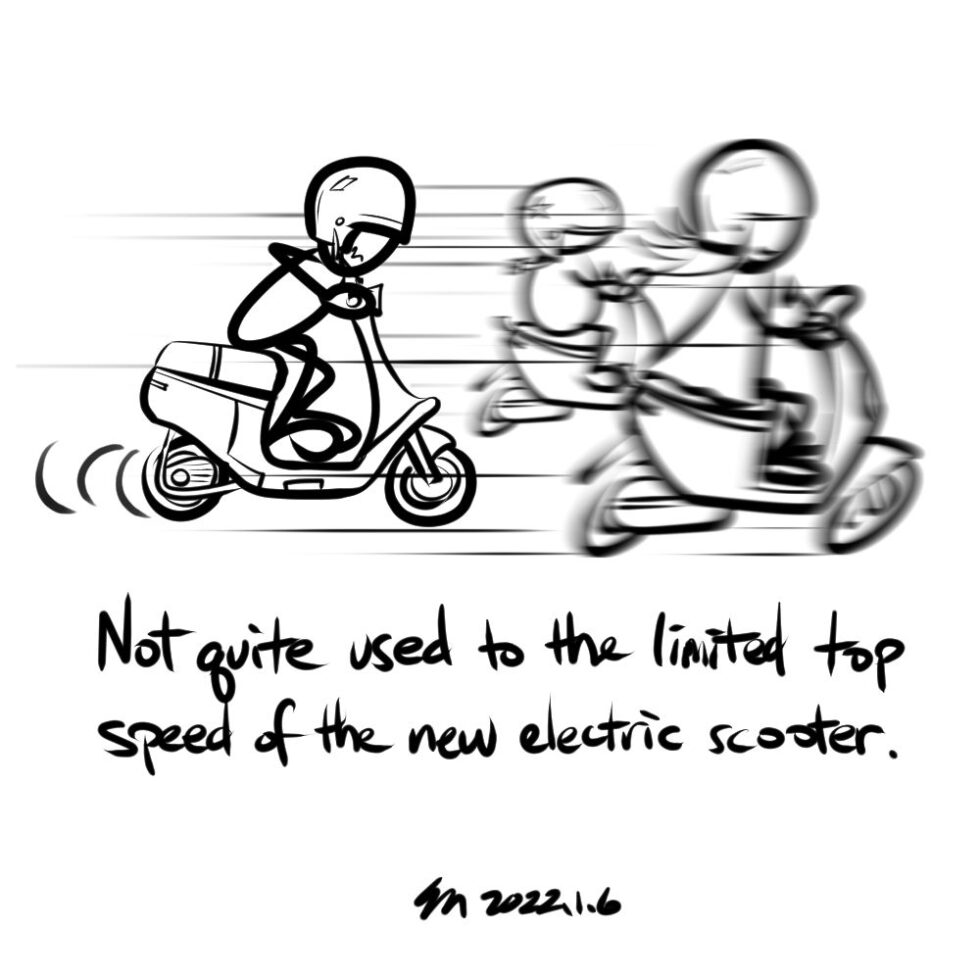
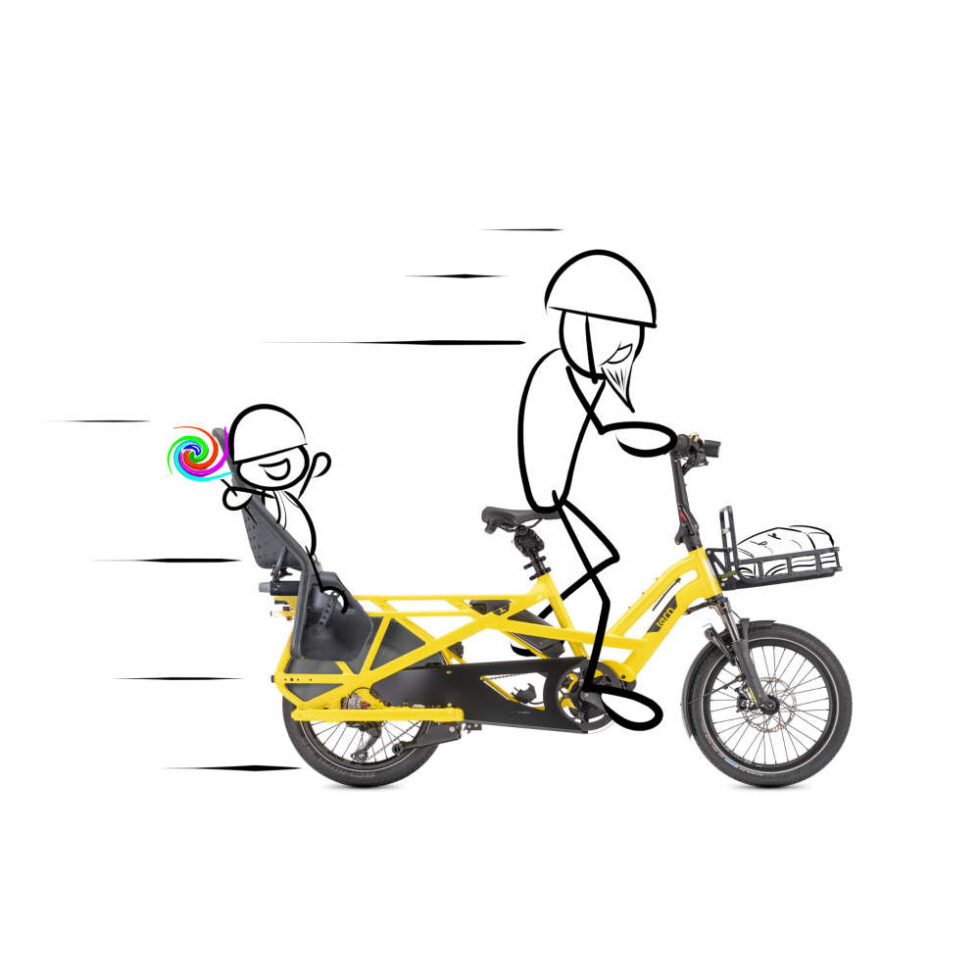
Too Fast
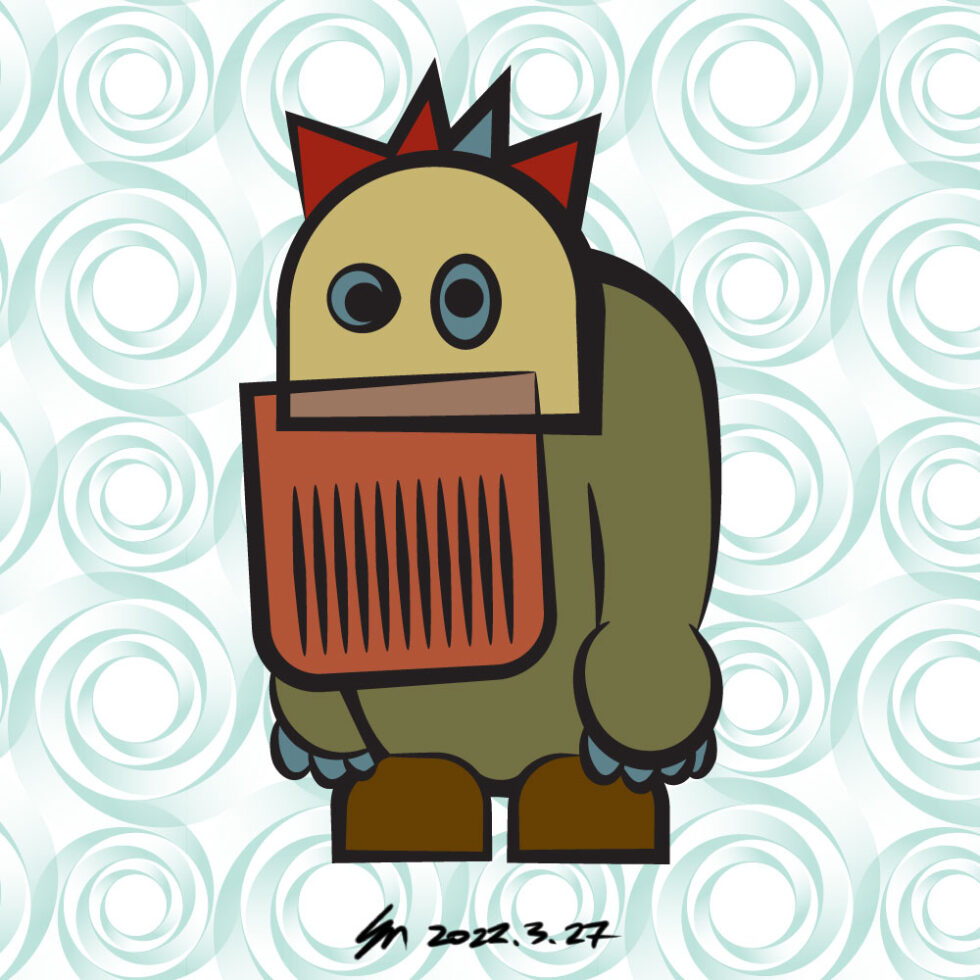
Slogoro

Boba

Missing Figs
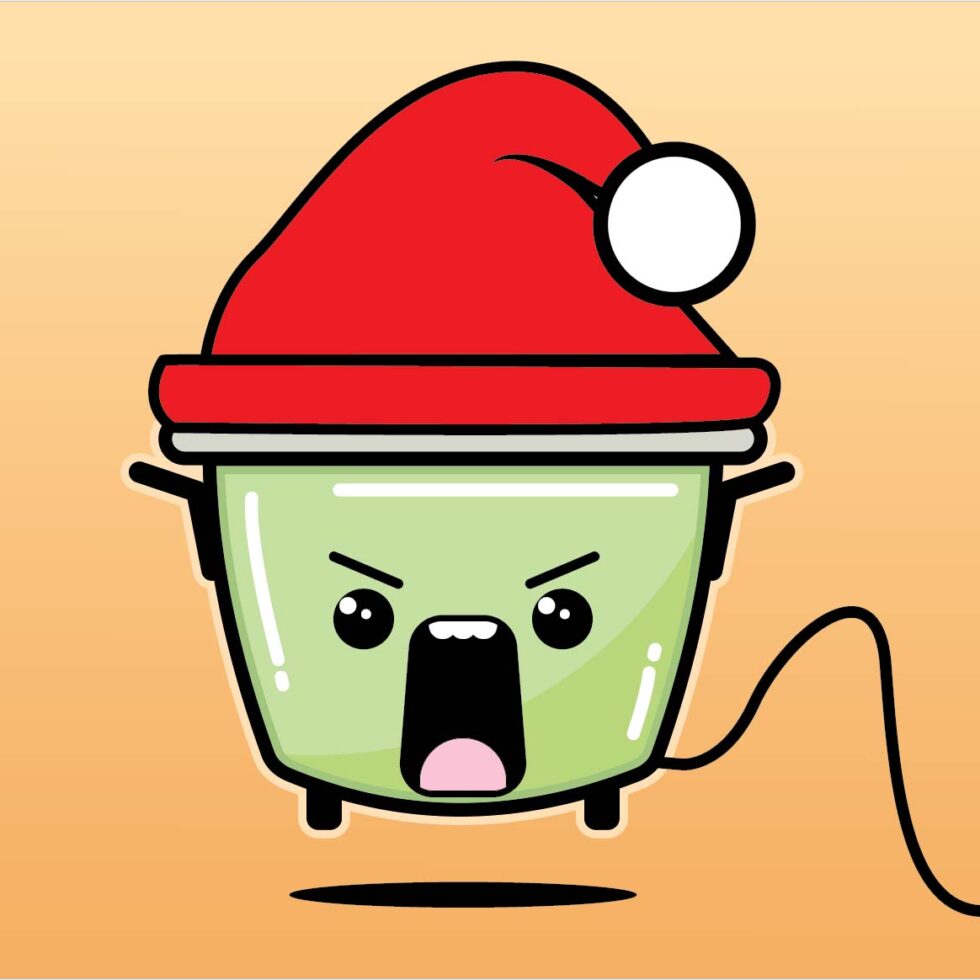
Happy Holidays!

Parkour Day
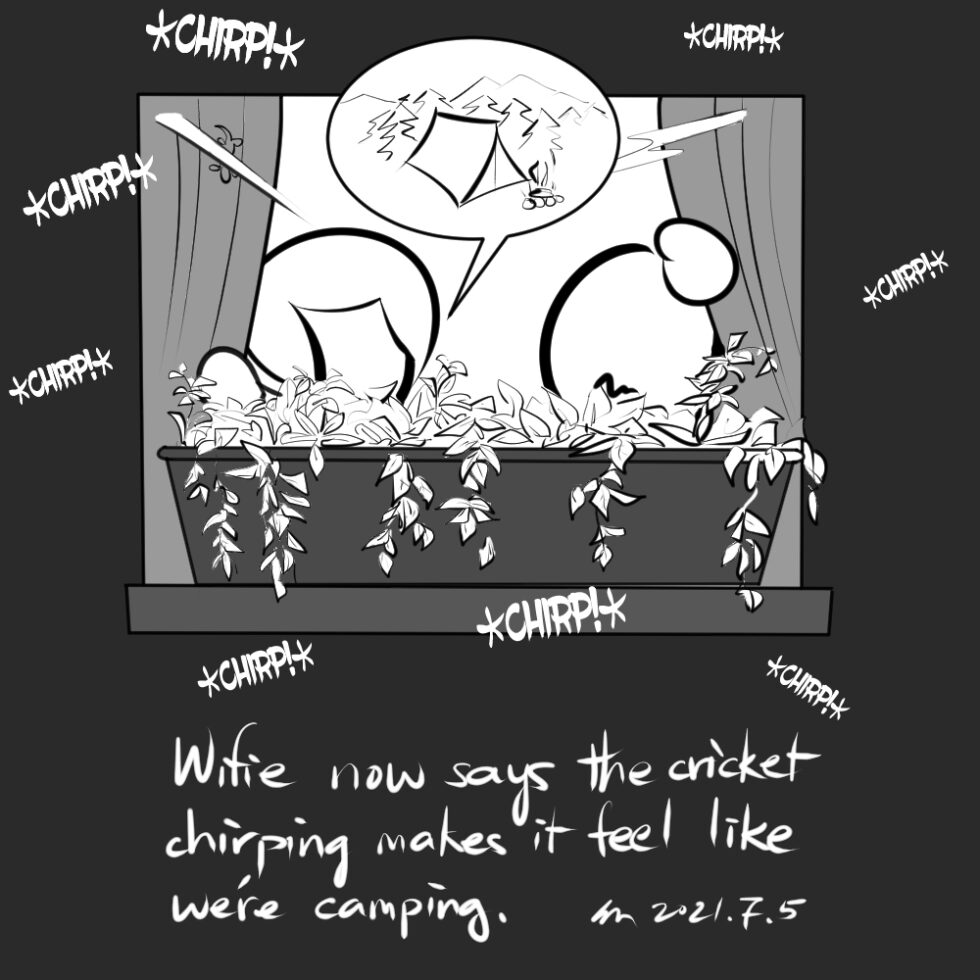
Cricket Camping
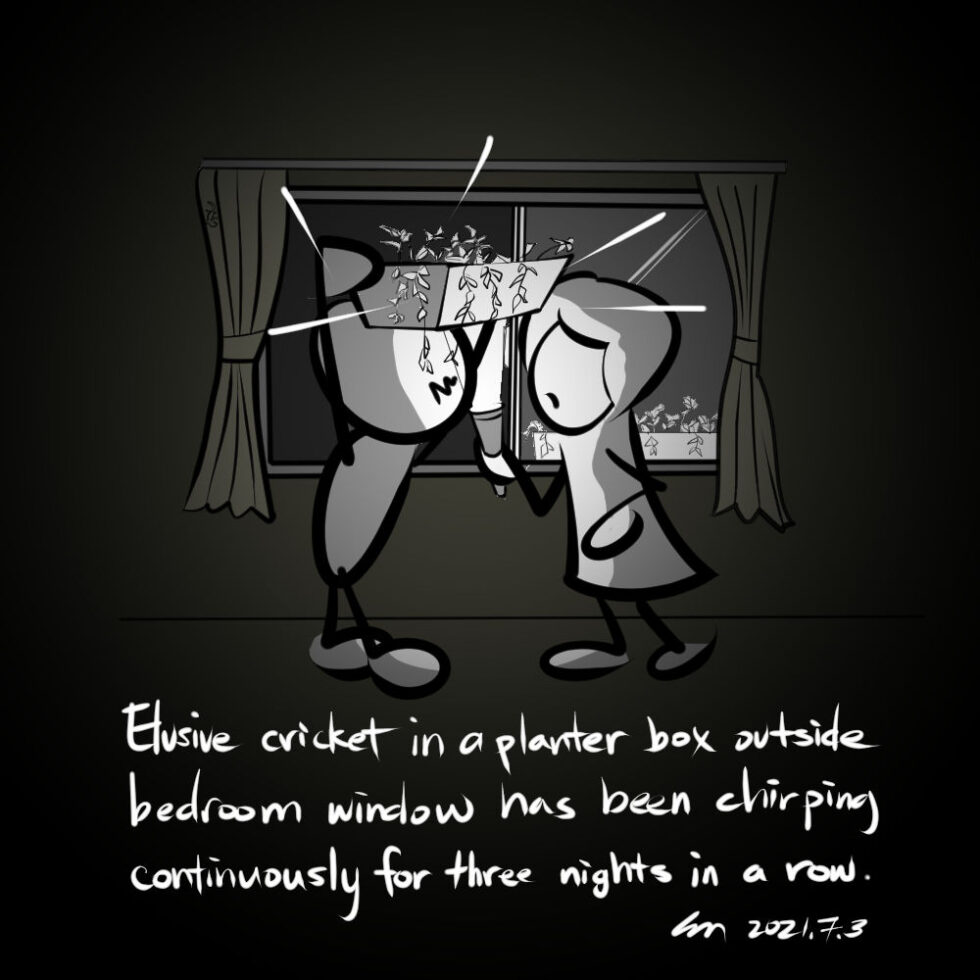
Elusive Cricket
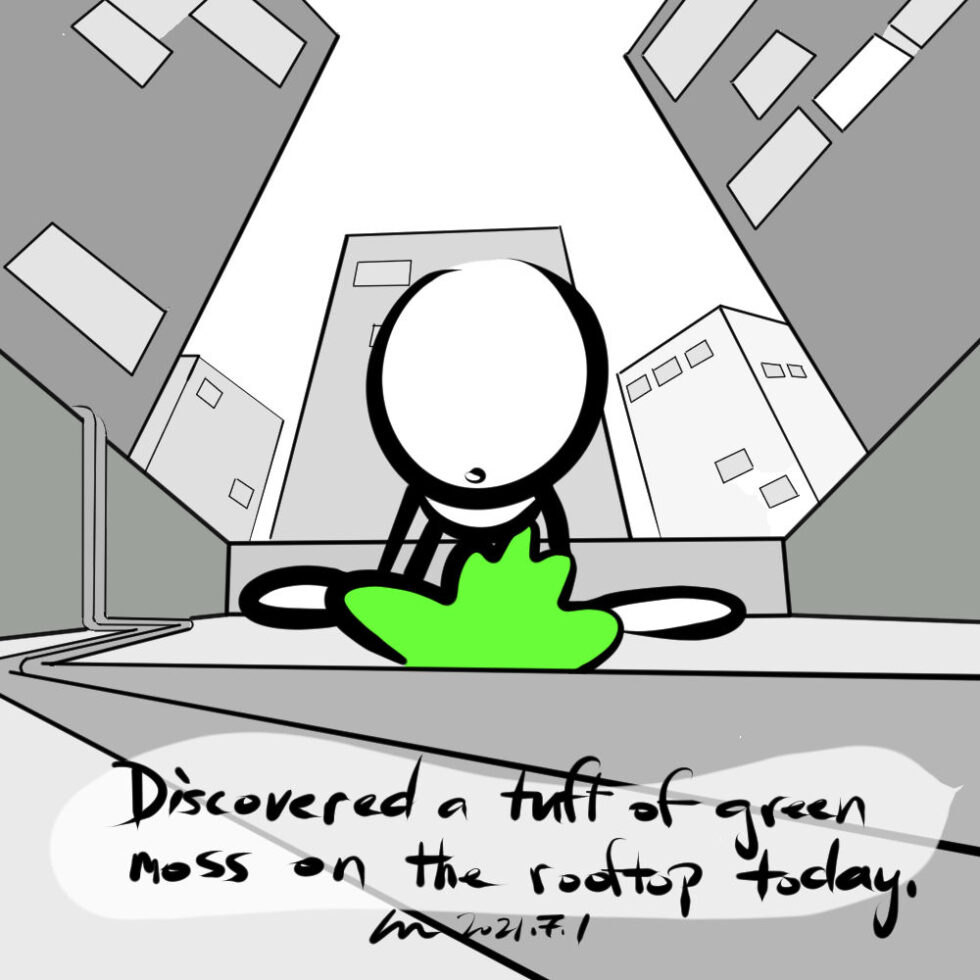
Moss
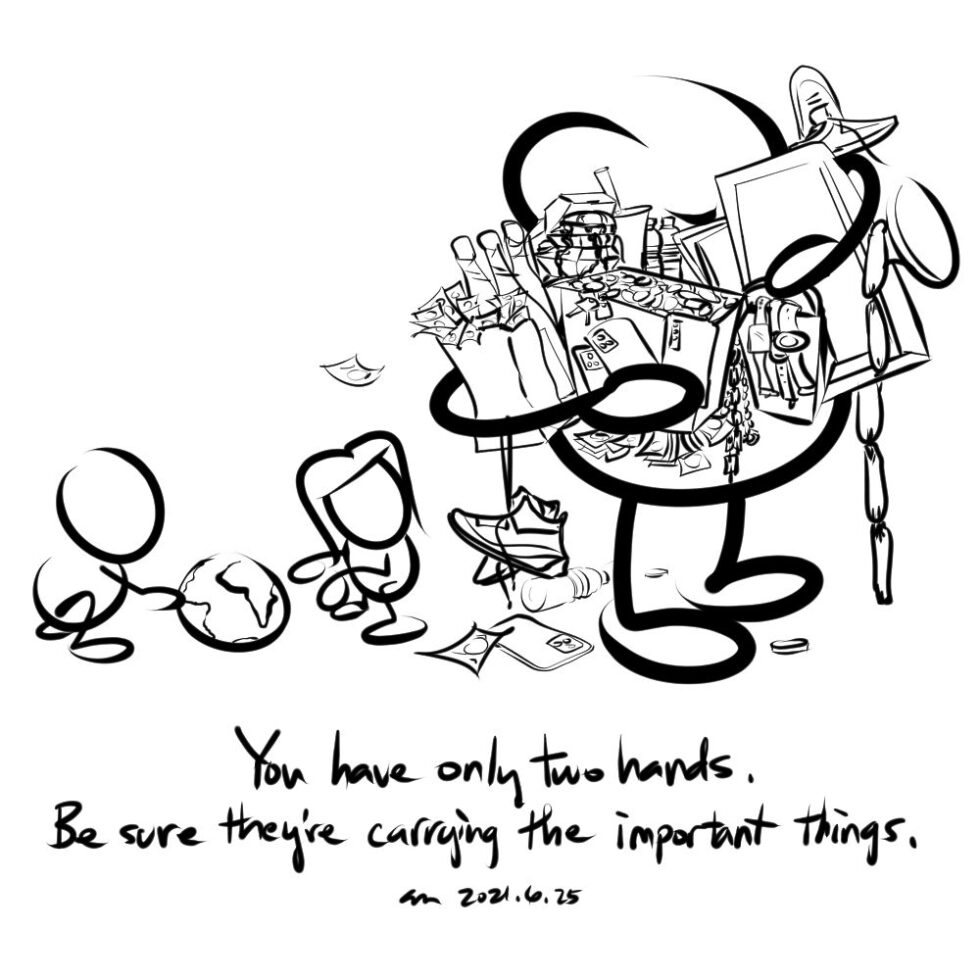
The Important Things
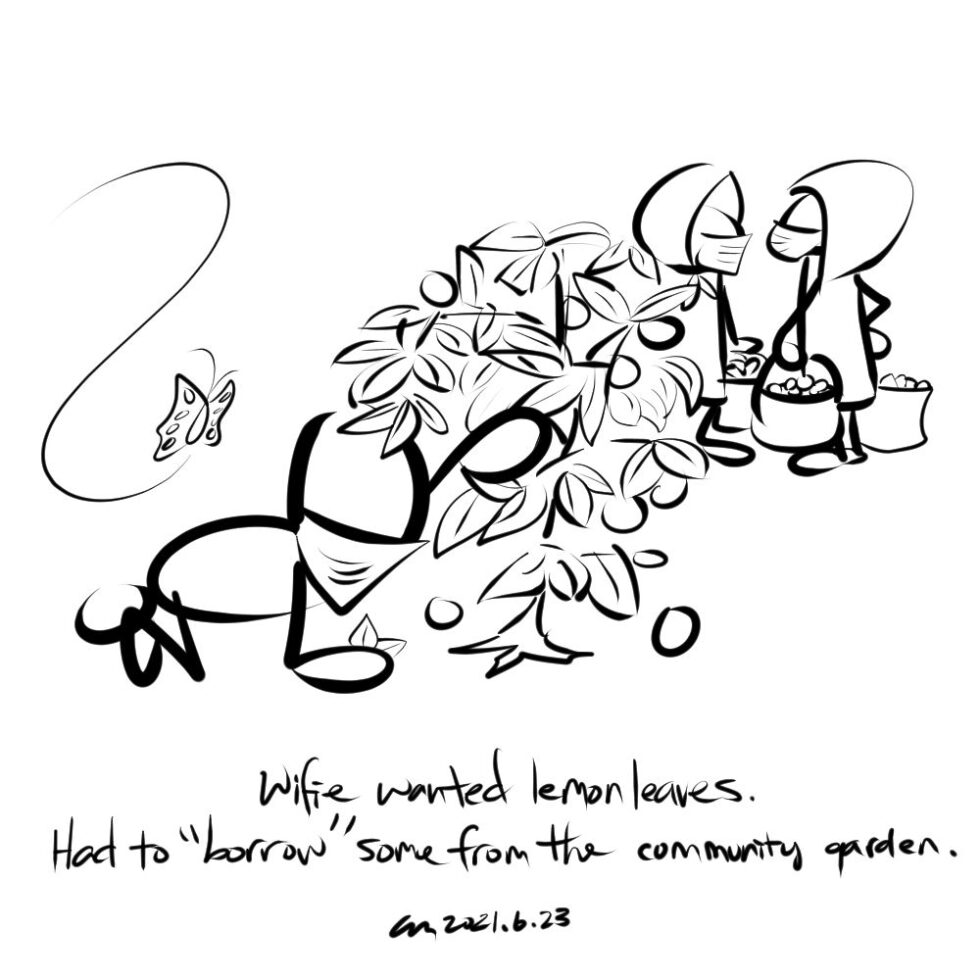
Lemon Leaves

Haircut Time

Peppers

To the Zoo!
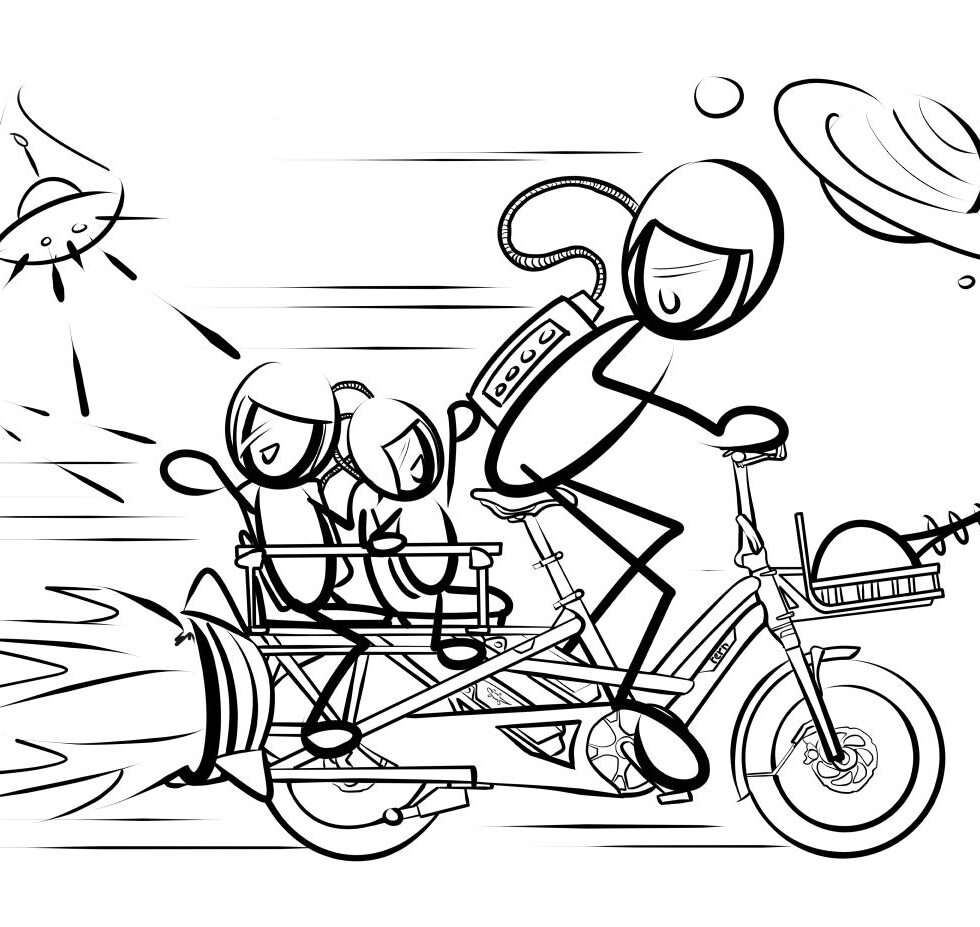
Max Warp!
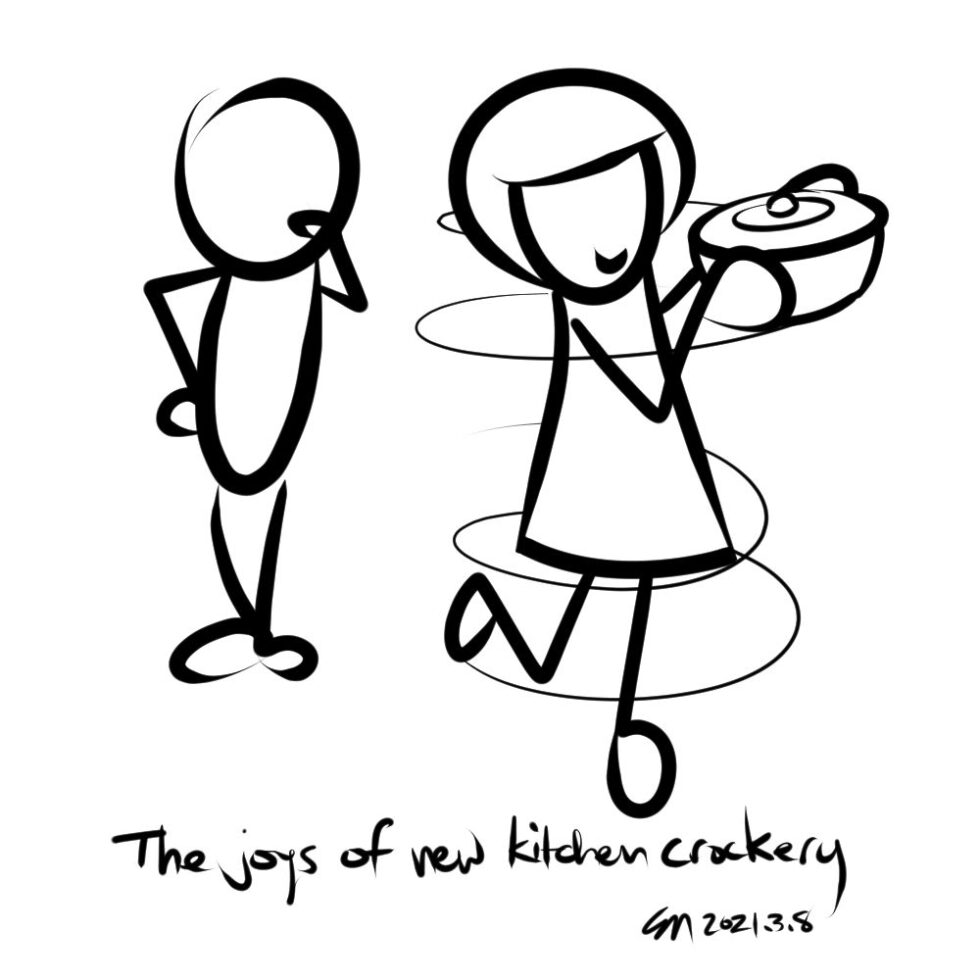
The Joys of New Crockery

Year of the Ox

Sunny Day
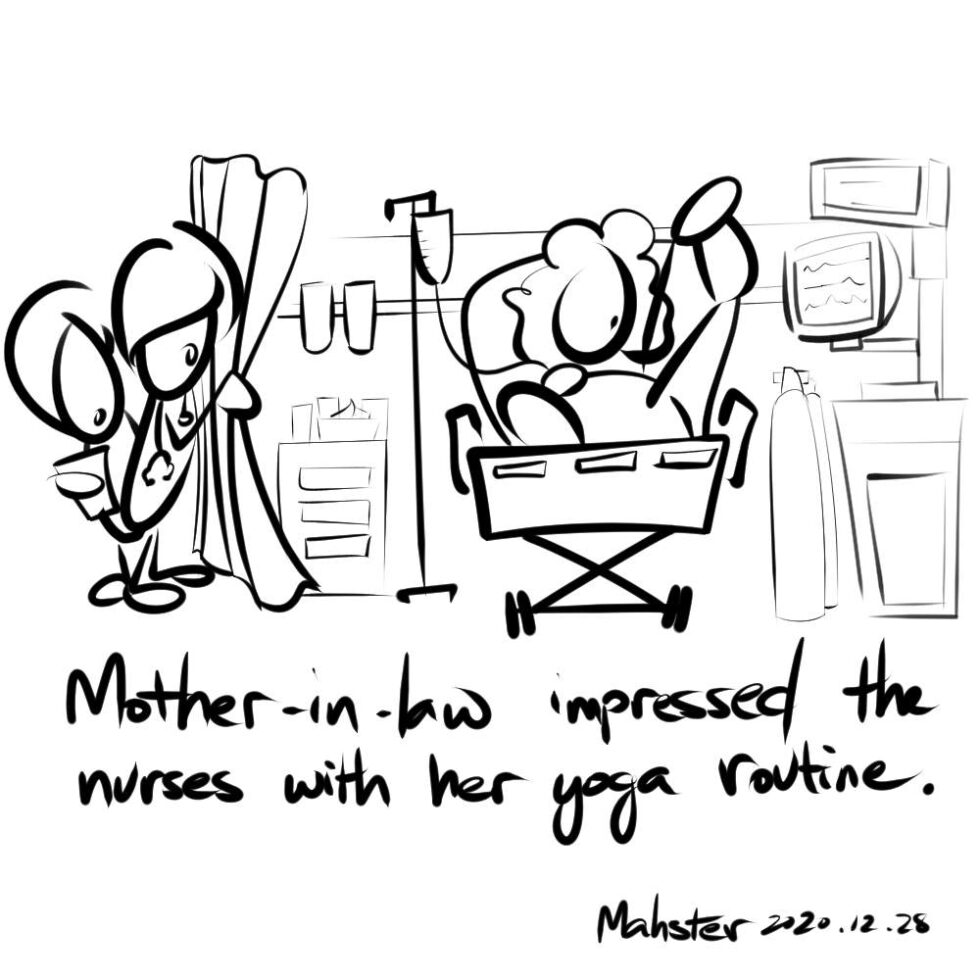
Impressive Yoga
Simple Things in Life